
New Pattern Alert!
The Missouri Breaks Quilt Pattern is a beginner friendly quilt pattern with detailed instructions and diagrams. You have a choice of 6 different sizes each time you make it! A baby quilt (the 3 yard quilt version), a large throw quilt (the 6 yard quilt version), and a queen size quilt made from yardage or a crib quilt, a throw quilt, or a queen quilt made from layer cakes (10″ square fabric packs) and yardage for the background fabric. If you cut 10″ square with your leftovers, this is a good stash buster too. Because of the size of the blocks and the pressing instructions, this is a wonderful quilt to make with your favorite cozy flannels too.
Get it FREE by signing up for my Newsletter. Then please make a bunch of quilts and donate them to groups that will give them to LA fire survivors, or Hurricane Helene Survivors who still need items. Please make sure to check your various email folders in the week following your signup in case the email goes to your spam folder.
Subscribe
Enter your email below to receive updates.
Thank you so much!
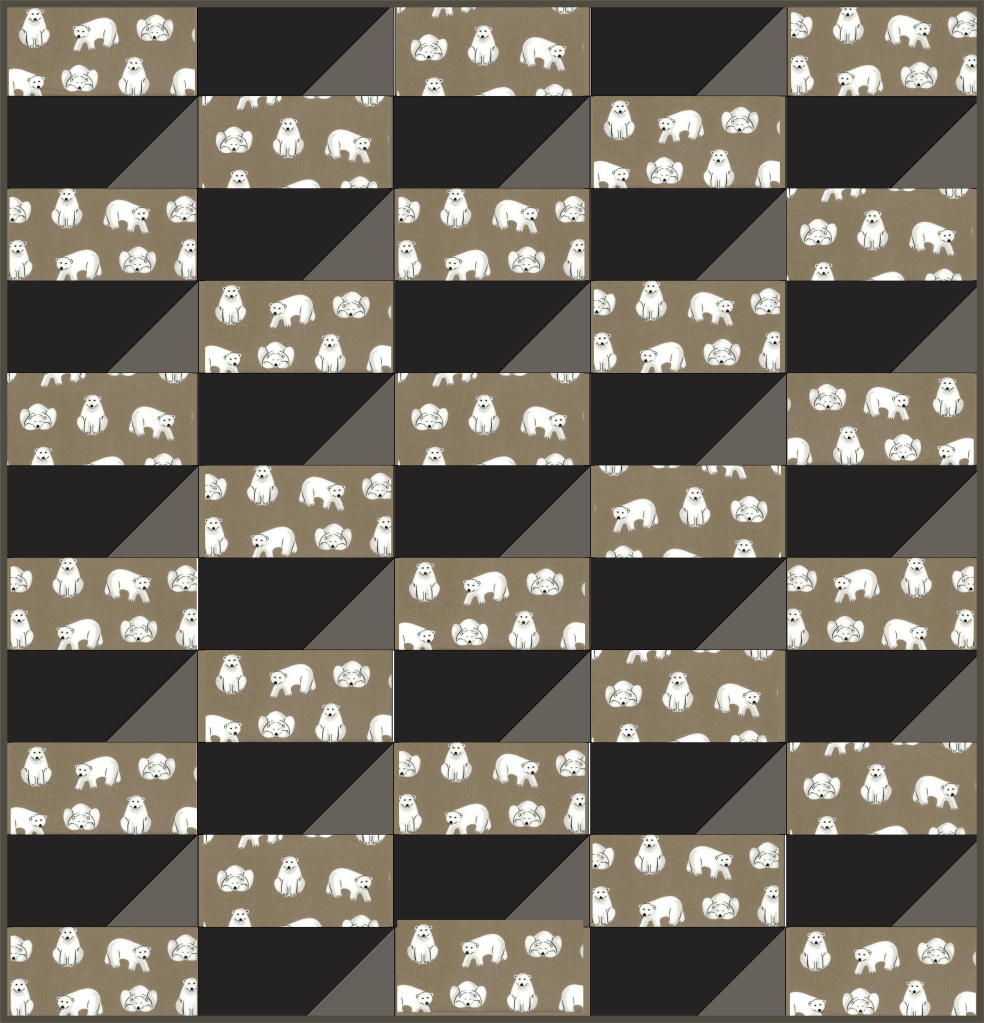
Here’s my plan for a flannel – well actually the black will be a piece of corduroy remnant from my mother’s old fabric stash but the others are flannels I already have:
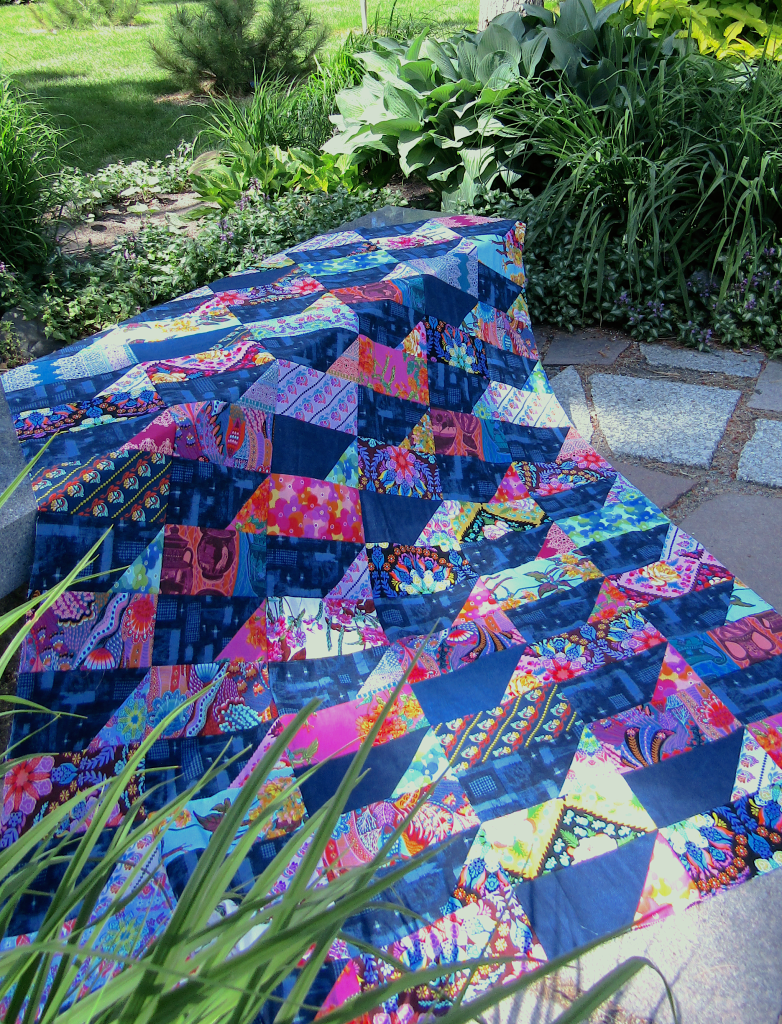
My friends at The Bundle Barn site made an oh so pretty version with Art Gallery fabrics and a turquoise grunge:

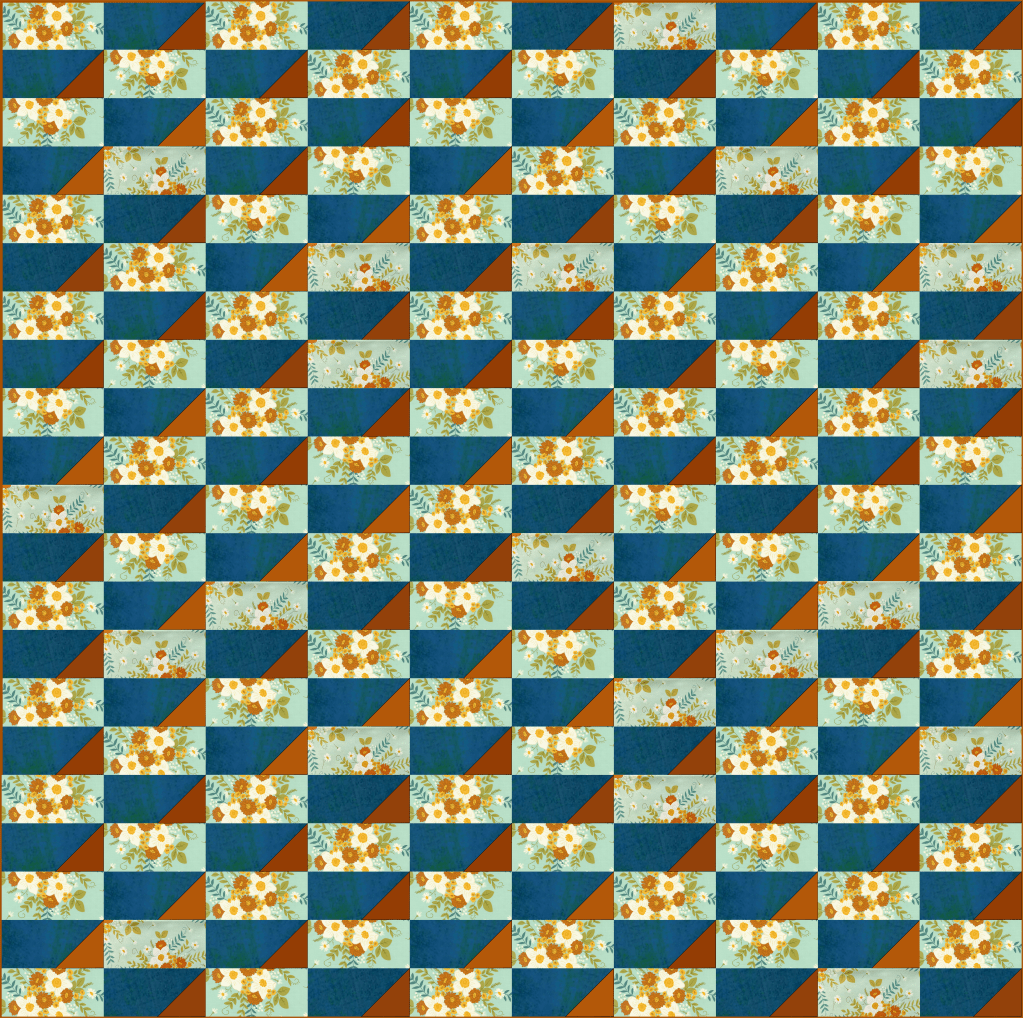
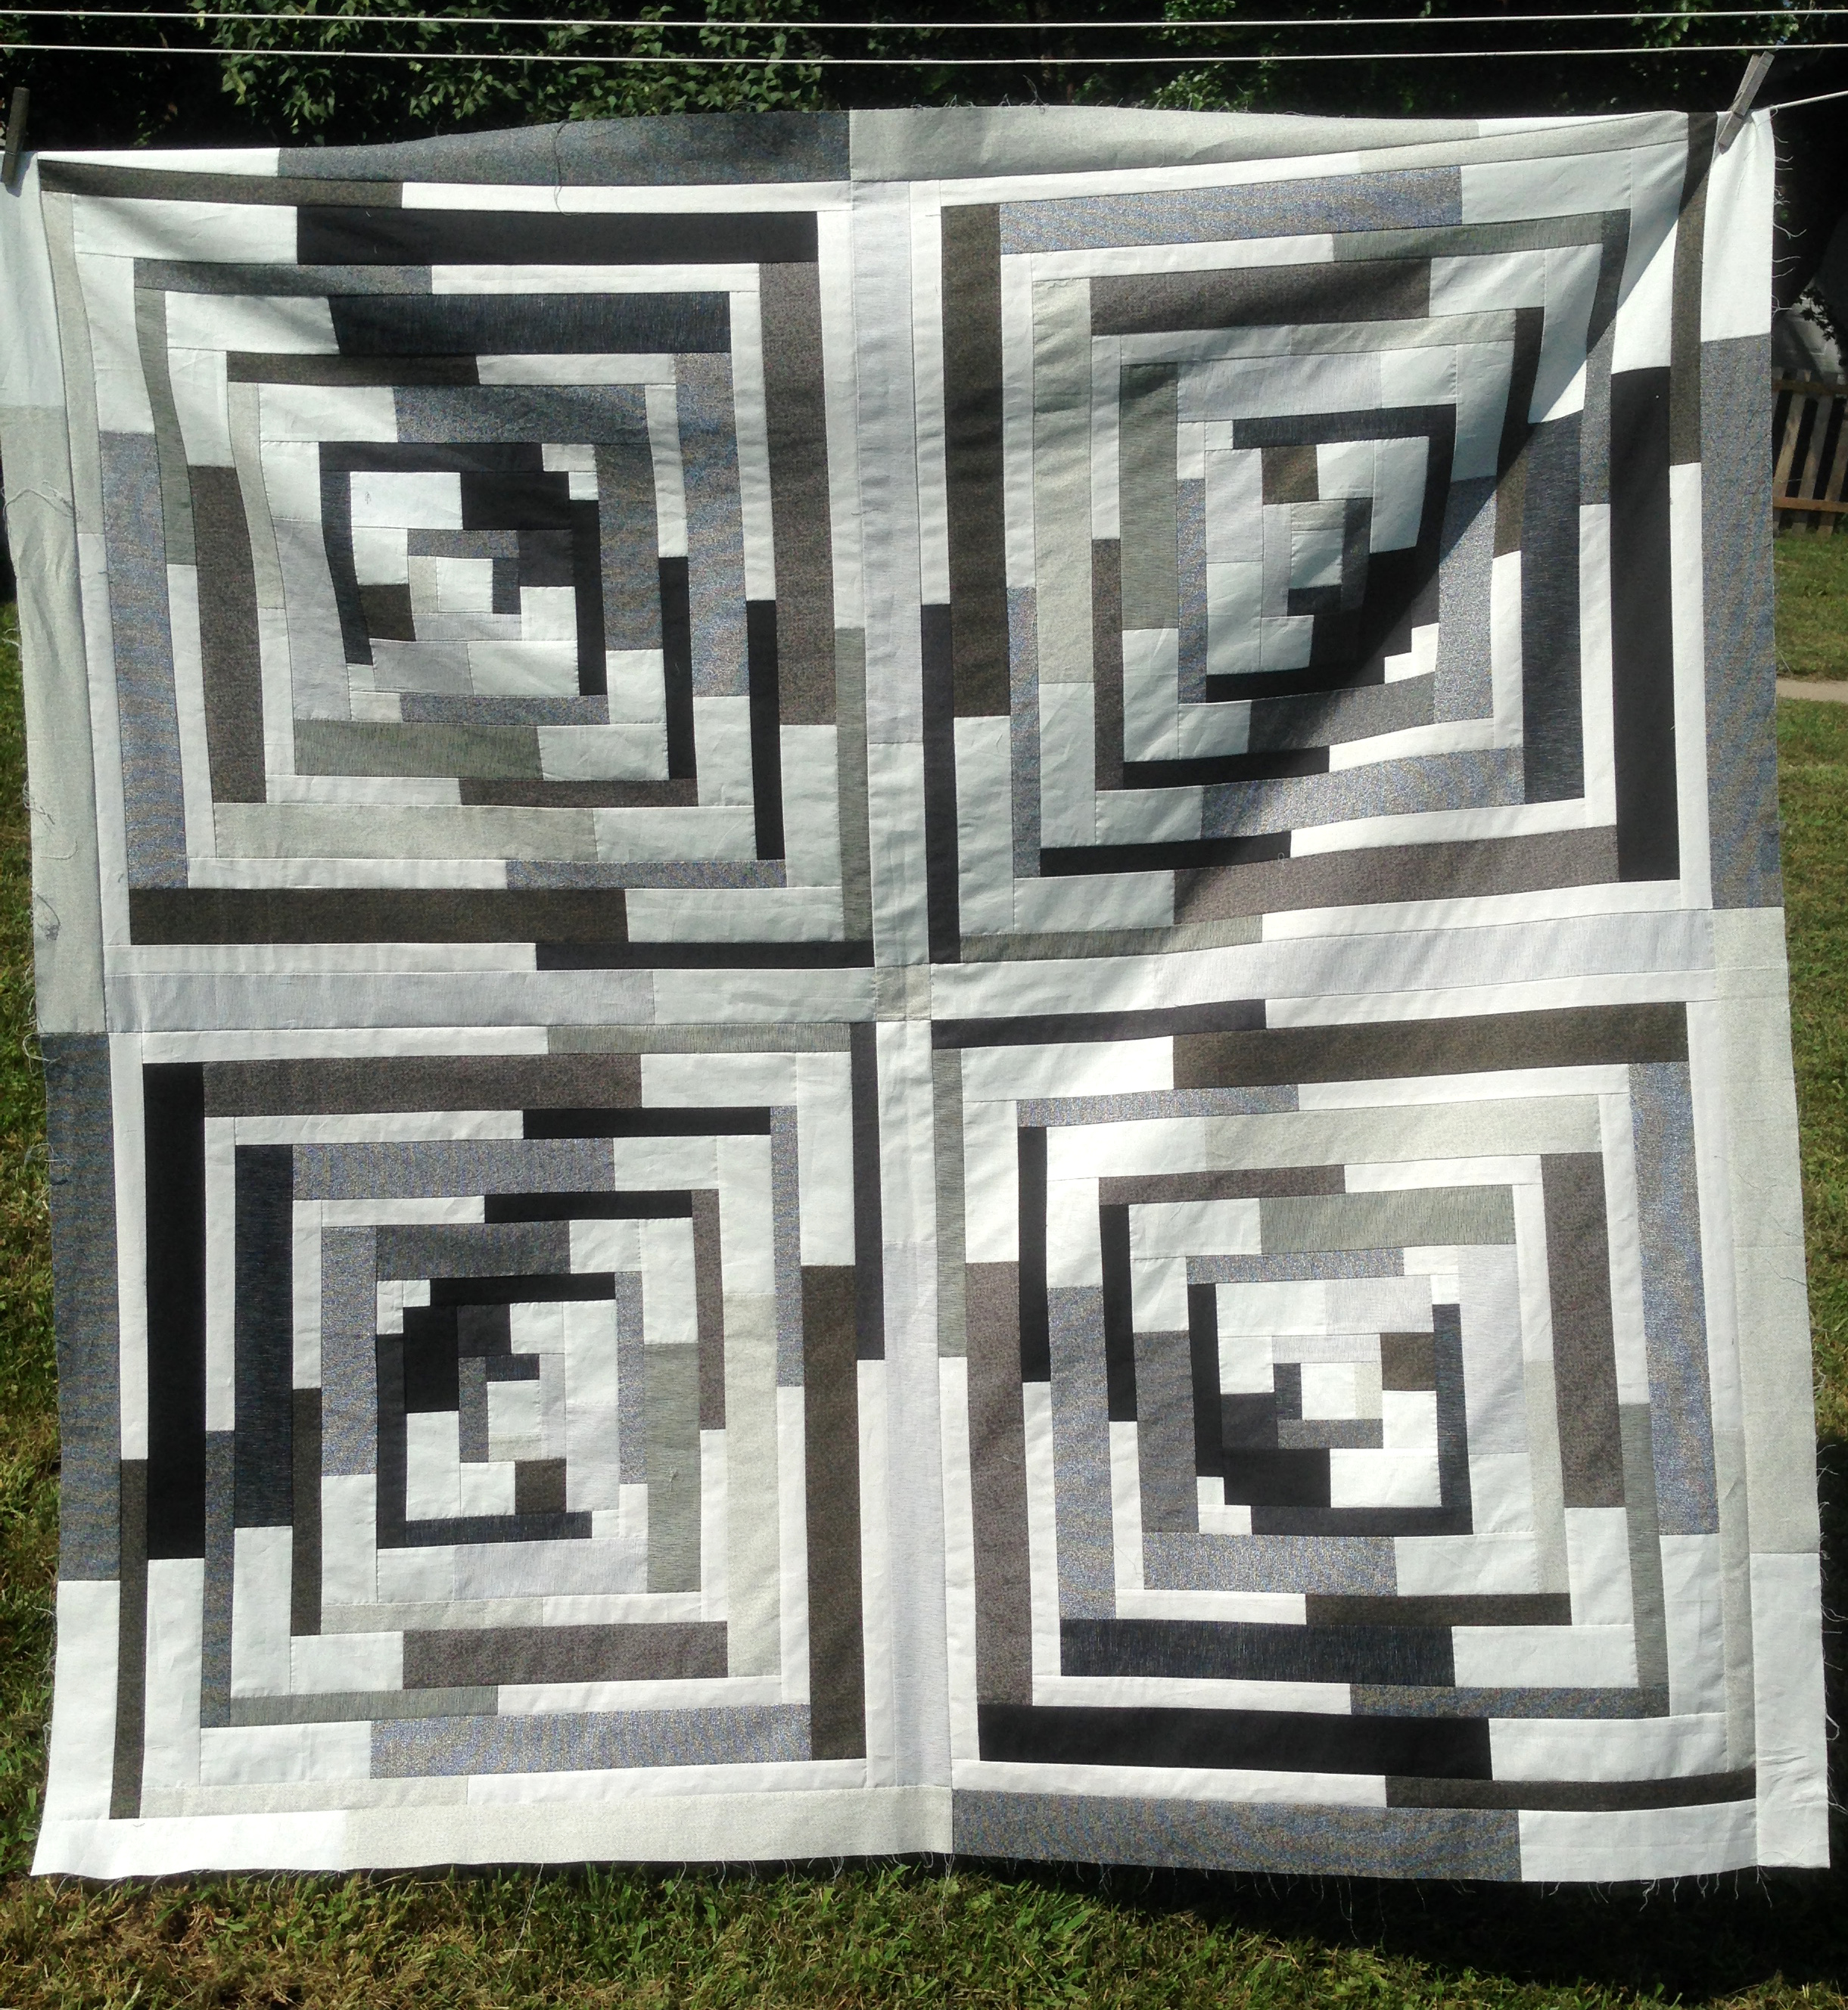
and here’s a mock up of a ginormous queen size with just three fabrics (me, I’d do it scrappier but sometimes you want to make a quilt out of specific fabrics for a specific person, right?)
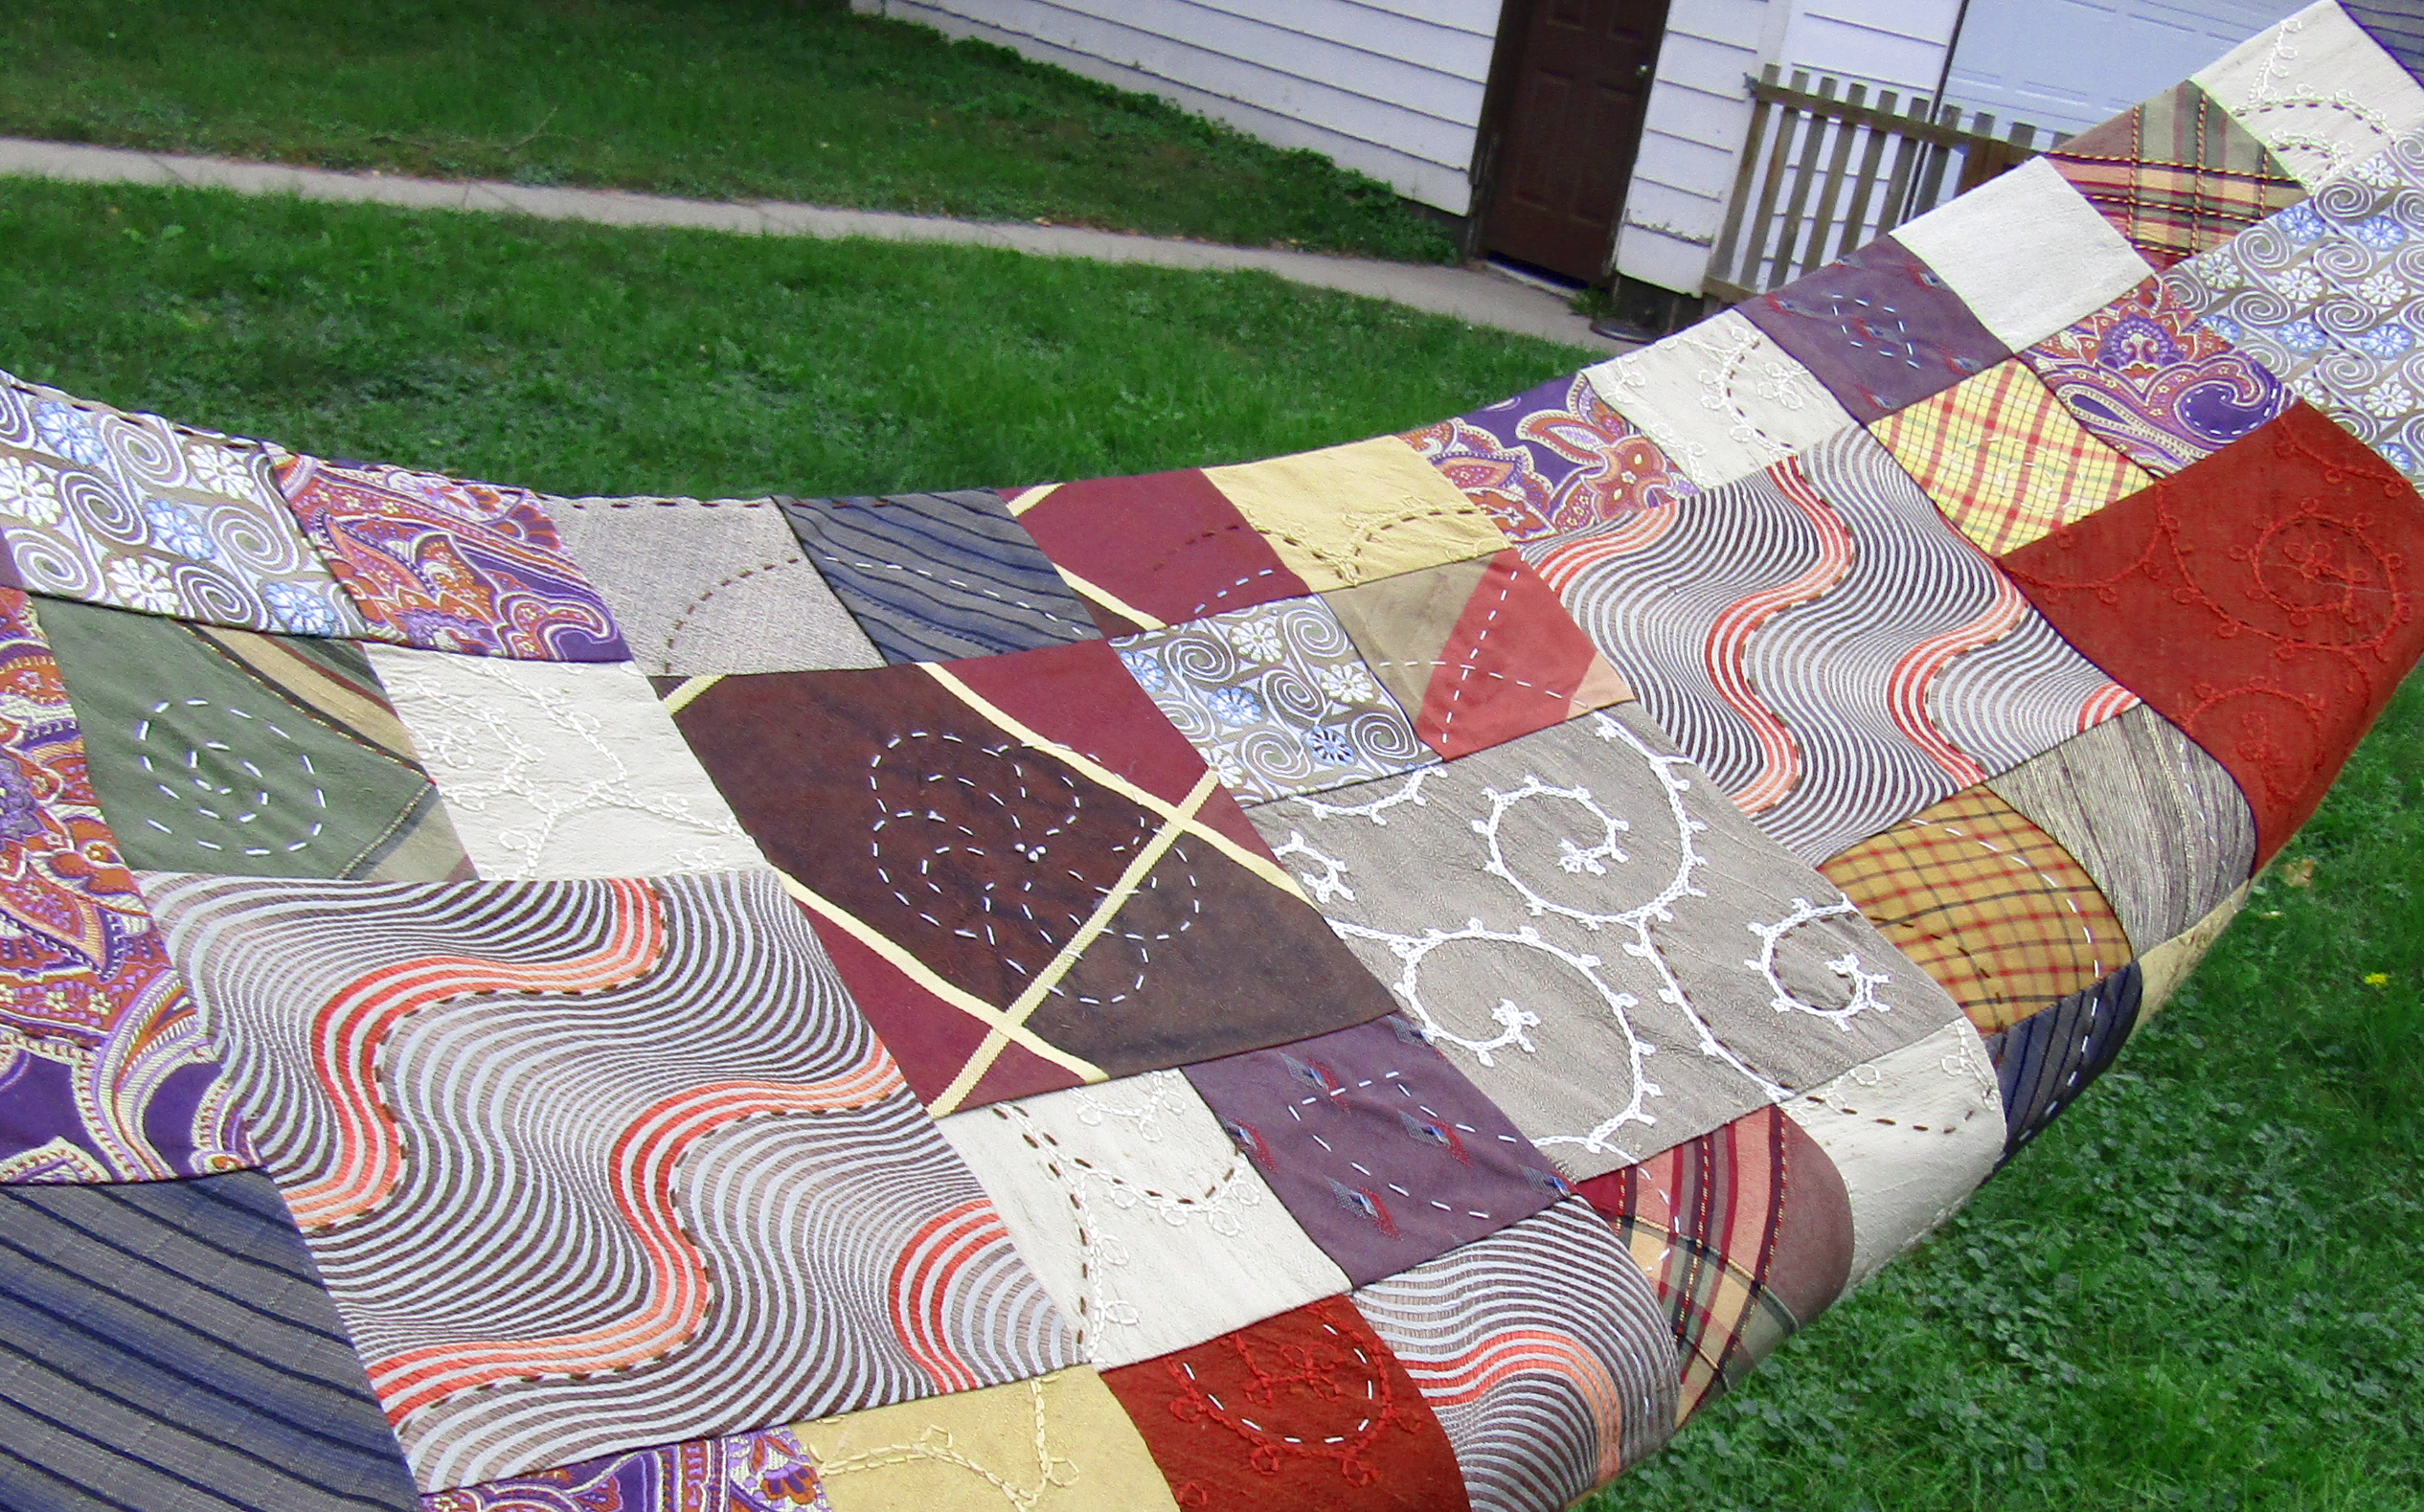
If you’re curious, I named it for the repeating Geological feature along the Upper Missouri River. Where the river cuts into the prairie, there are areas of regular little valleys in the banks that then flatten out at the top on the grasslands. So even though my pattern has way more repeats, you can see my inspiration in this picture:

Also, it’s summer of 2024 and I have multiple other patterns I’m releasing on a quick schedule here so stay tuned…
 The center square plus the first row are looking pretty good in this one. Then my 10″ check starts showing that my seam allowance was getting too big by a thread or two (which was *weird* because in some patterns my scant 1/4″ is too narrow since I use a 1/4″ blade foot for my Pfaff and then can adjust my needle to make it even a bit more scant):
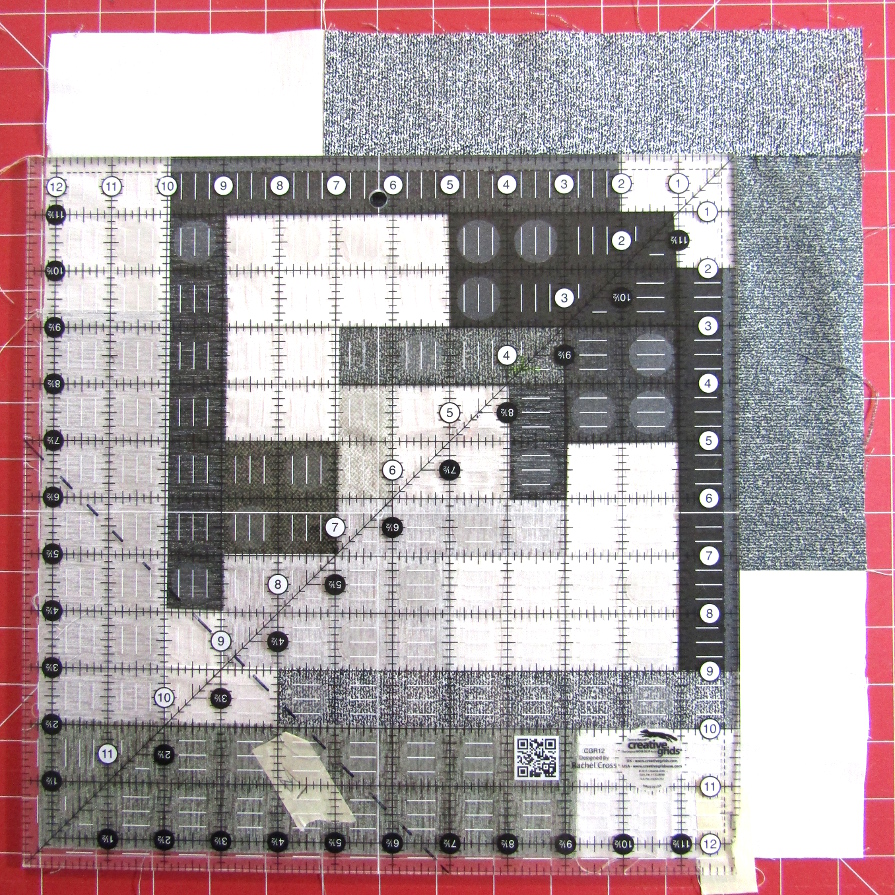 I did do some unsewing on the blocks a couple of times.
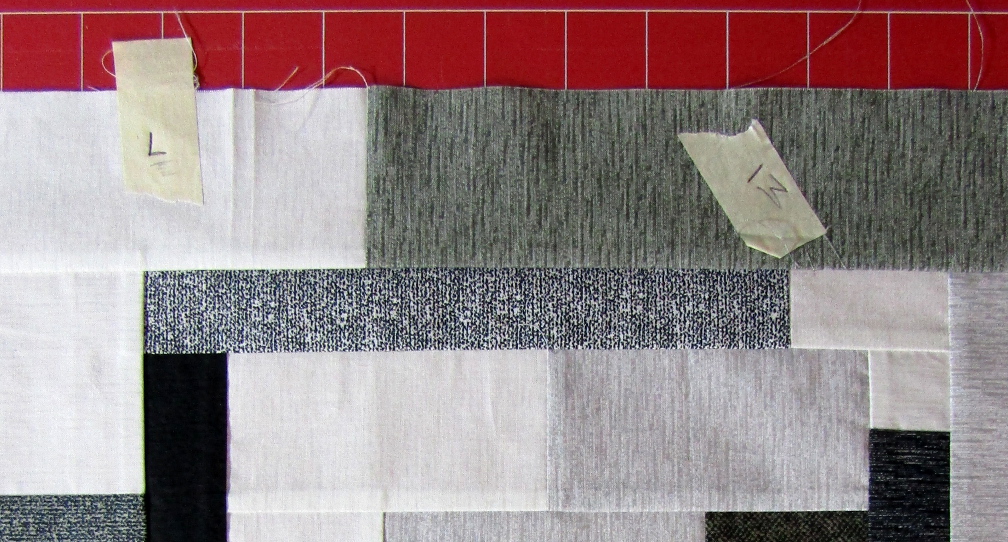
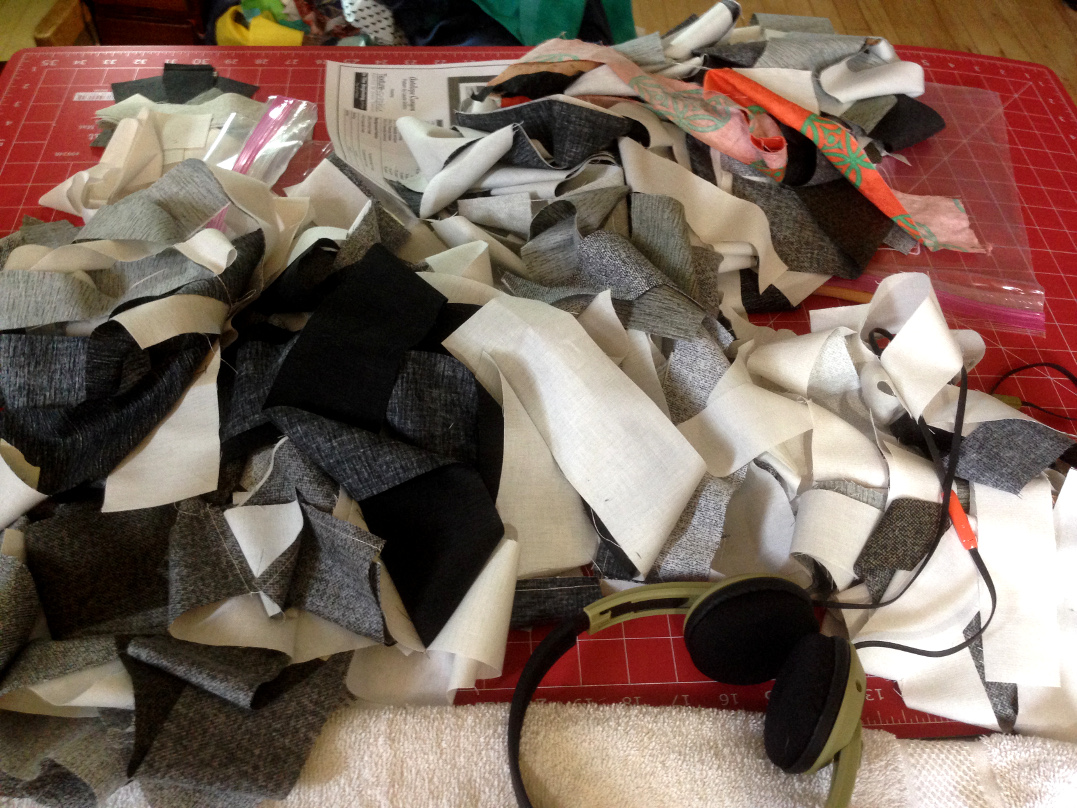 Whereas by the time I had my blocks together, I had a fairly hairy back!
  Some fabrics are just this way, but also a couple of spots are due to my masking tape hitting the edge. This really isn’t *too* bad (Not like wovens, I love wovens/homespun but talk about fray potential!) but I did try to trim and clean up most of this before giving the flimsy (top) to a long-arm quilter to baste and do some preliminary stitching for me before I do some handquilting. If it really bugs you, you could use some Fray Check on your edges and/or zig-zag baste or serge your edges.