It’s hard to squish and streamline quilt pattern instructions down to one and a half pages including diagrams, but I have done it! I have 3 patterns with Cut Loose Press. You may know them from your local quilt store. Cut Loose Press publishes patterns featuring the Creative Grids Rulers and Tools. My three patterns are all written for the same tool that I have taught and demonstrated for years – the Straight Out of Line tool. I mean, I sold SO MANY OF THAT TOOL that I feel a PERSONAL RESPONSIBILITY to provide y’all with ways you can use them! Truthfully it’s a VERY USEFUL template. You can get half tumblers, “Twister” style blocks, and optical illusion-esque blocks out of it all in multiple sizes (13 sizes). I expect to just keep adding to the arsenal of patterns for this – I have a couple in my back pocket right now.
My Shindig Quilt pattern pictured left is the place to start when you buy the Straight Out Of Line tool. Shindig is extremely beginner friendly and you also get some practice sewing on bias edges and putting the wedge shapes together. Buy a couple of Layer cakes and you can whip up this quilt so fast it’ll make your head spin!
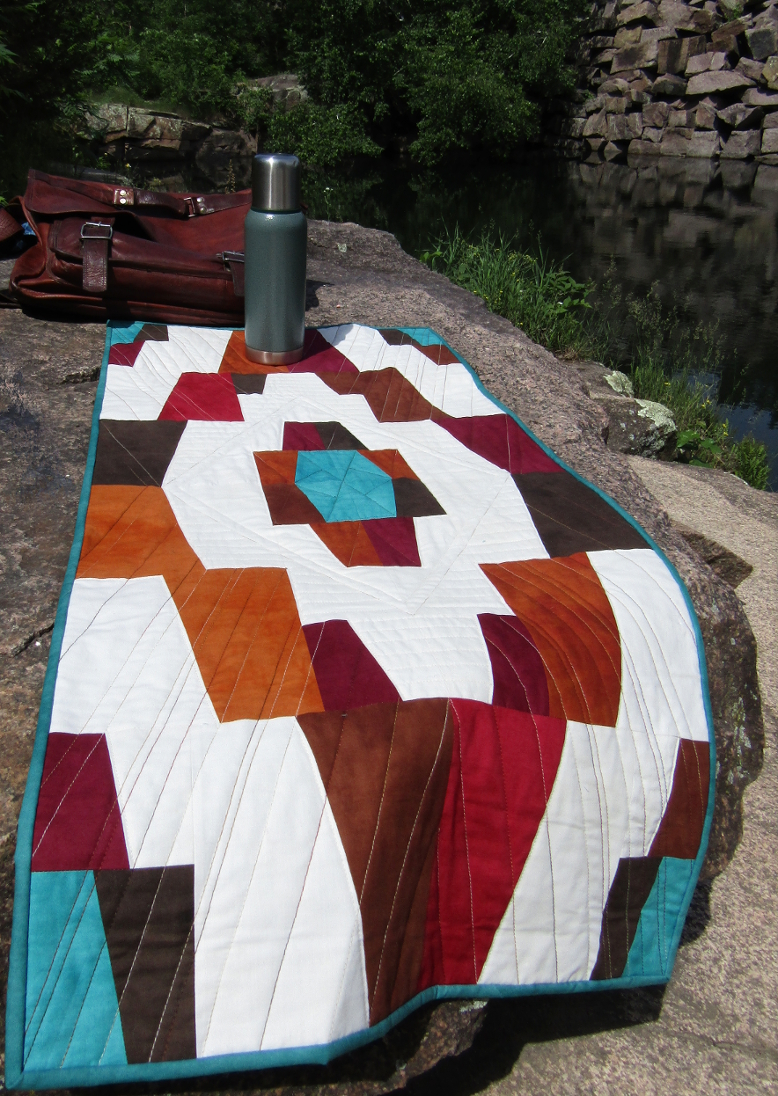
My second pattern is the Medora Table Runner. It’s a similar block to my Medora quilt but I stretched it out to make it a better runner size though it’s still large-ish at 19 1/2in x 42 1/2in. I’ll say it again, “It’s hard to squish and streamline instructions down to one and a half pages including diagrams!” Having taught this pattern a number of times I will forewarn you, your scant quarter-inch seam allowance must be scant. Maybe even super-scant. But makers have been making this for several years and I’ve seen it done beautifully in batiks and Holiday fabrics and more.
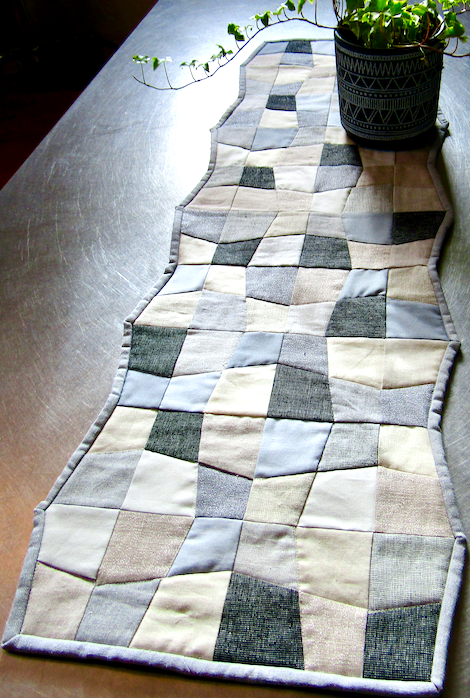
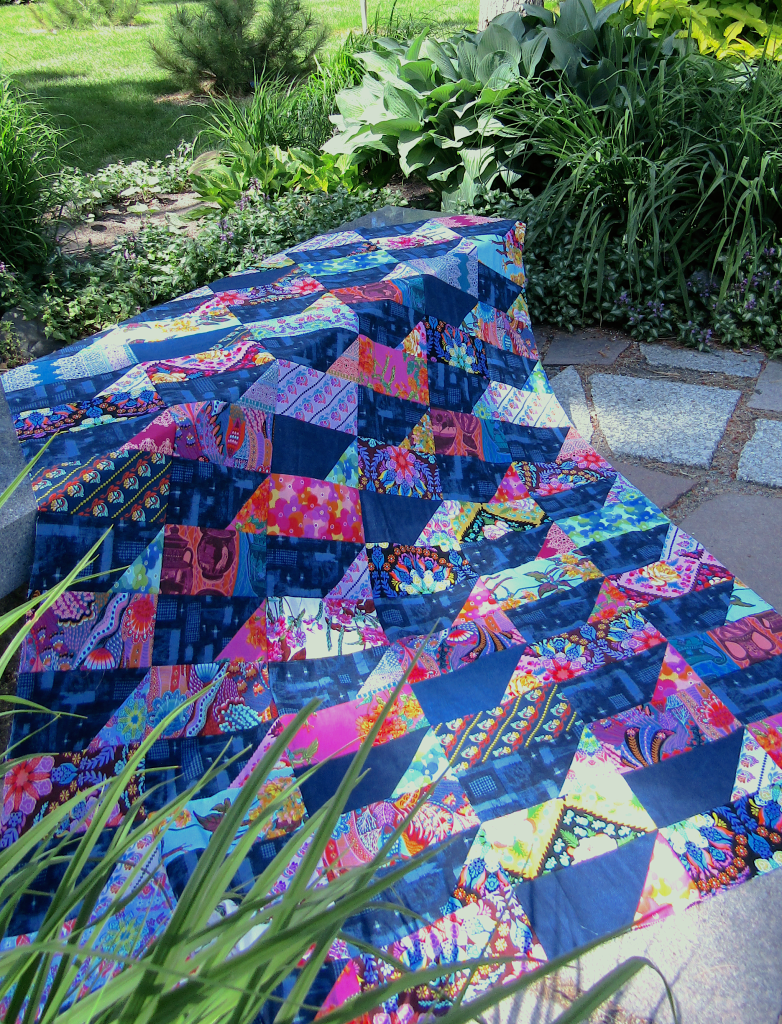
Third and most recent is my Flexible Floe Table Runner. I personally think this one is best in a limited palette, like all neutrals ranging from dark to light, or all blues ranging from dark to light, or maybe 2 colors like blue and yellow and again ranging in dark to light but prove me wrong! please!
Here it is in a bunch of Essex Linen blends by Robert Kaufman fabrics with some golds from Diamond Textiles wovens, an old chambray remnant, and I threw in a couple of Ruby Star Society Warp and Weft fabrics that worked too!
I’m releasing another pattern: Super Bloom Wreath! If you’re familiar with the quilting year, you know it’s about time to start Yule/Christmas/Northern Hemisphere Winter projects if you want them done by Christmas or Boxing Day or the Winter Solstice or what-have-you. I made this 42″ wreath (but you can also make it half size) because I could make it these bright reds and oranges to cheer me up when the days get short. Of course as with all things quilty, you can make a Fall Wreath, a Halloween Wreath, a Thanksgiving Wreath, an Easter Wreath, or whatever wreath you want just by changing the fabrics. The 42″ size makes a wonderful baby quilt too and because of the larger size of pieces you can use flannel. Just think about plunking that cutie down in the middle of the wreath! great photo op!
This pattern is also a really good introduction to 60 degree shapes: equilateral triangles, half hexagons, and diamonds. I have a ton of diagrams. The cutting diagrams are focused on the CGR60DIA 60 Degree Diamond ruler but this wreath can absolutely be made cutting using a different tool. If you use a different tool, I’d recommend testing with scraps to make sure you know the tool well. I didn’t do templates. Too often people print the templates at the wrong size and then pieces don’t go together properly. I mean, email me if you think I’m wrong, I’d love to hear your views. jill at materiella dot com
I’d like to see a good rainbow version of this. I’ve tried a couple of times but I don’t think I’ve quite got it with the fabrics from my stash. Technically this one has all the colors of the rainbow but it doesn’t exactly hit you over the head with RAINBOW either…
Also, did you know? A superbloom is a rare desert botanical phenomenon in California and Arizona in which an unusually high proportion of wildflowers whose seeds have lain dormant in desert soil germinate and blossom at roughly the same time. The phenomenon is associated with an unusually wet rainy season. It’s amazing!
Grab a pattern and make it in your own favorite colors!
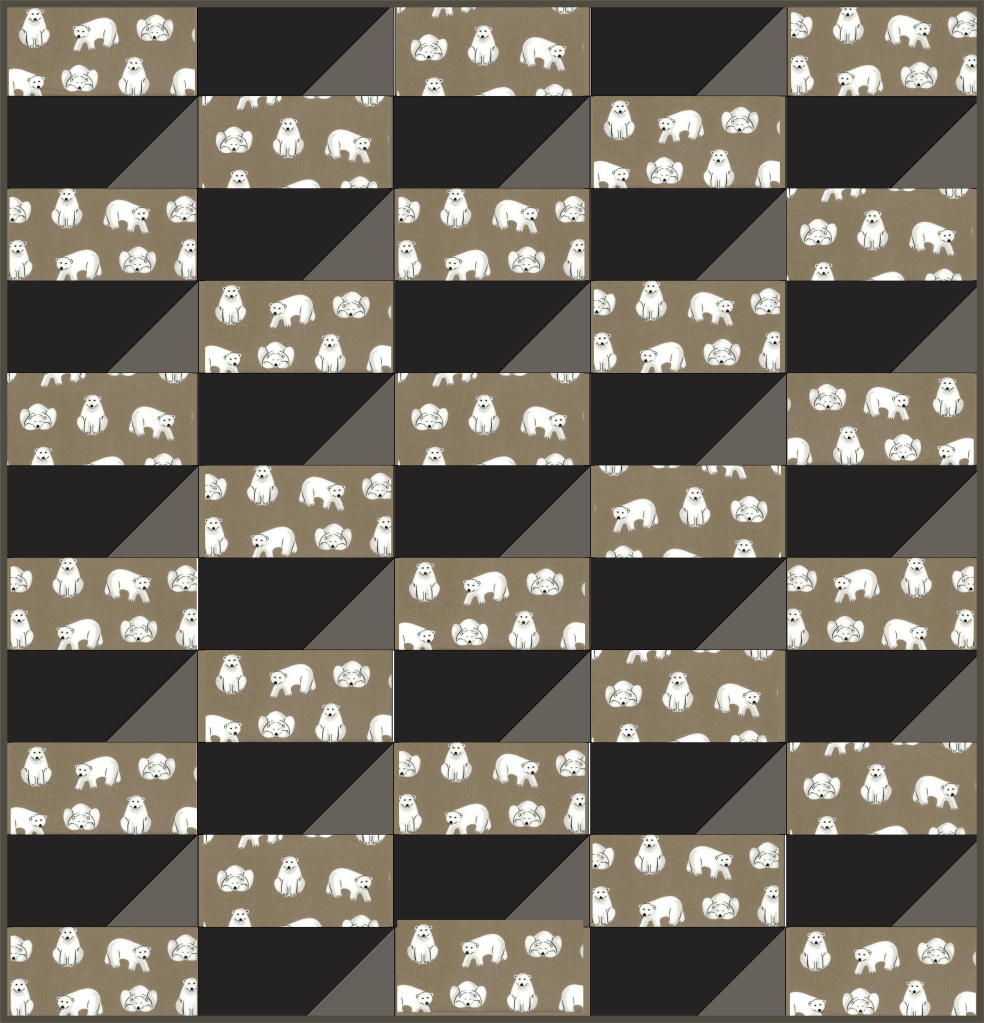
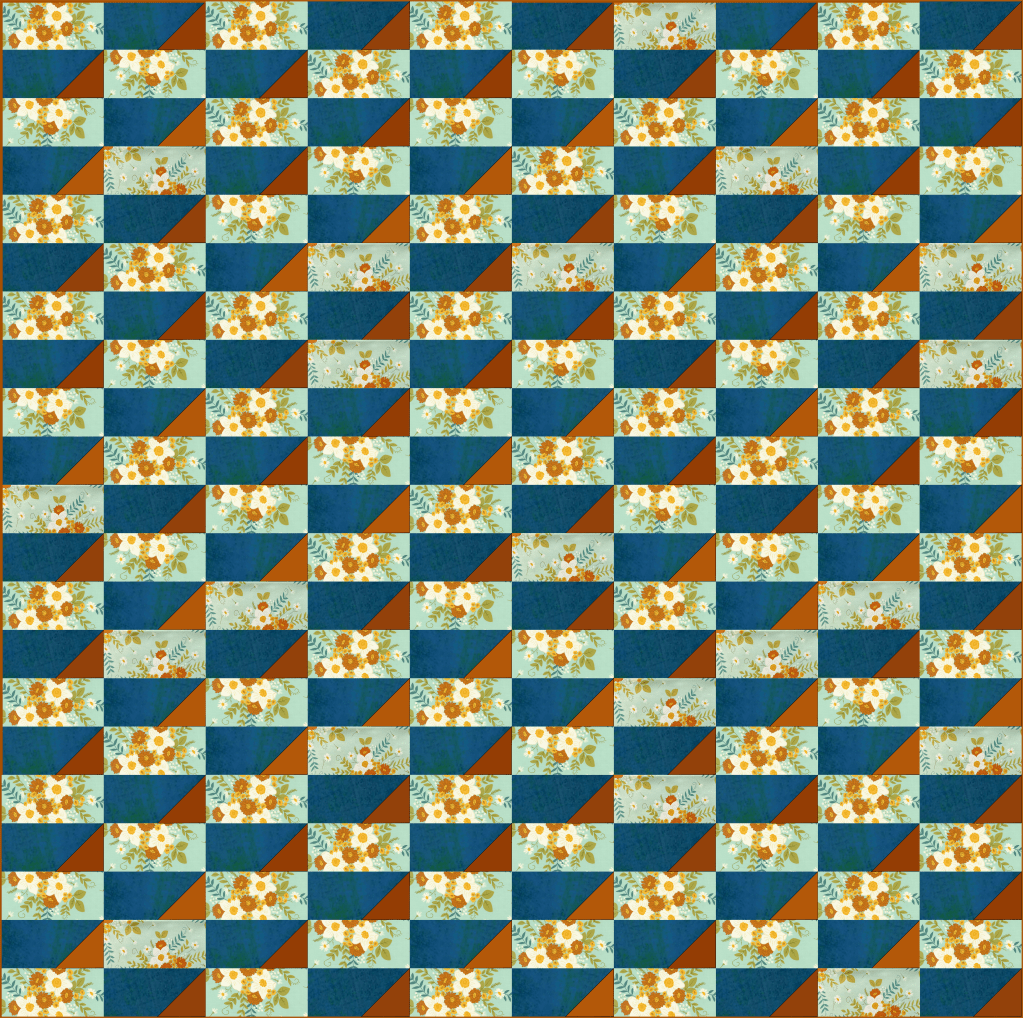
New Pattern Alert! The Missouri Breaks Quilt Pattern is a beginner friendly quilt pattern with detailed instructions and diagrams. You have a choice of 6 different sizes each time you make it! A baby quilt (the 3 yard quilt version), a large throw quilt (the 6 yard quilt version), and a queen size quilt made from yardage or a crib quilt, a throw quilt, or a queen quilt made from layer cakes (10″ square fabric packs) and yardage for the background fabric. If you cut 10″ square with your leftovers, this is a good stash buster too. Because of the size of the blocks and the pressing instructions, this is a wonderful quilt to make with your favorite cozy flannels too.
Get it FREE by signing up for my Newsletter. Then please make a bunch of quilts and donate them to groups that will give them to LA fire survivors, or Hurricane Helene Survivors who still need items. Please make sure to check your various email folders in the week following your signup in case the email goes to your spam folder.
Subscribe
Enter your email below to receive updates.
Thank you so much!
Here’s my plan for a flannel – well actually the black will be a piece of corduroy remnant from my mother’s old fabric stash but the others are flannels I already have:
My friends at The Bundle Barn site made an oh so pretty version with Art Gallery fabrics and a turquoise grunge:
and here’s a mock up of a ginormous queen size with just three fabrics (me, I’d do it scrappier but sometimes you want to make a quilt out of specific fabrics for a specific person, right?)
If you’re curious, I named it for the repeating Geological feature along the Upper Missouri River. Where the river cuts into the prairie, there are areas of regular little valleys in the banks that then flatten out at the top on the grasslands. So even though my pattern has way more repeats, you can see my inspiration in this picture:
Also, it’s summer of 2024 and I have multiple other patterns I’m releasing on a quick schedule here so stay tuned…
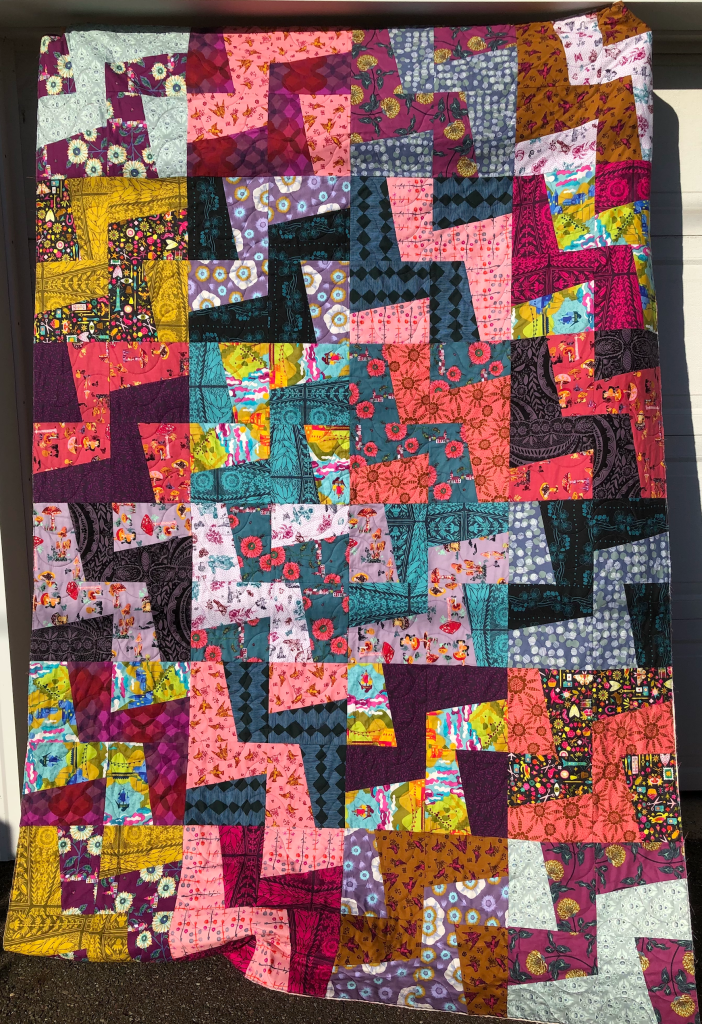
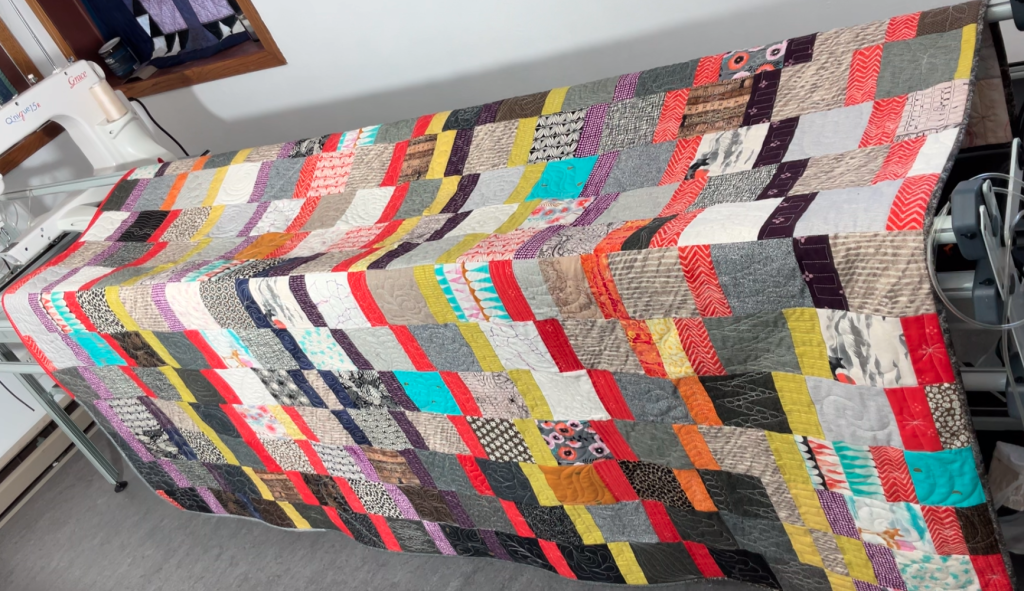
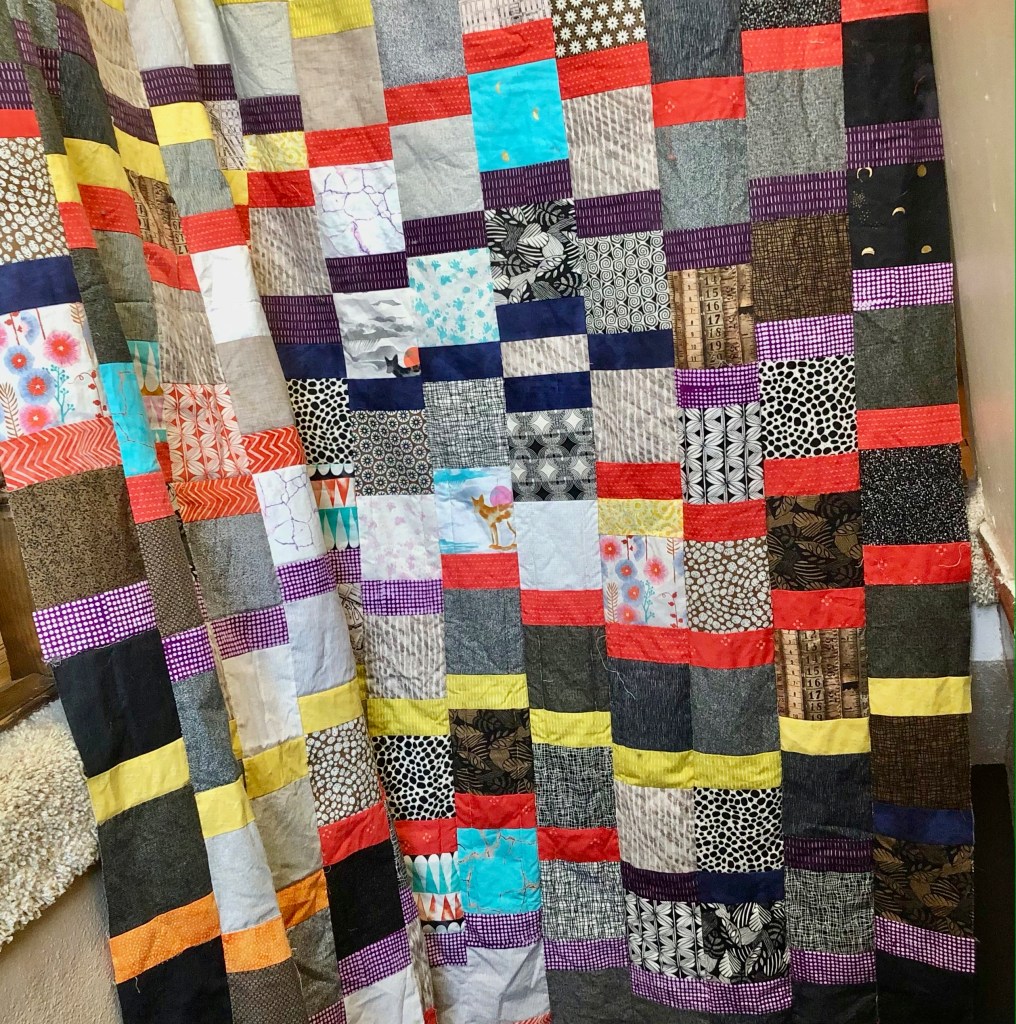
This top is an easy way to use up a bunch of scraps, random charm packs, and random 2 1/2″ strips. Bonus points for being a good first practice quilt for free motion quilting since it gave me specific areas to fill. Sure, I could have just meandered all over the top but since I had so many discreet, defined areas, why not make goals for each little space and practice specific shapes each time?
I thought about writing up a pattern for this quilt top but this is a little more free wheelin’ and you almost don’t need instructions for it. (I *do* have patterns at my etsy shop: https://www.etsy.com/shop/MateriellaDesigns/ so please go check them out! Thanks!)
Collect your 5″ squares and 2 1/2″ accent fabric strips of various lengths that you think would make a fun scrap quilt. If you have a long 2 1/2″ strip that runs selvedge to selvedge (Width of Fabric, approx. 41″), you can simply start feeding it right side up through your sewing machine and line up 5″ squares with its edge, right sides together. Use your typical scant 1/4″ seam allowance. The dashed line here indicates your seam. You’ll be able to get seven or eight squares along a full 2 1/2″ X WOF strip depending how close you squeeze them together. The arrow indicates the end that first feeds into your sewing machine (word press doesn’t let me put it in vertical orientation and then type to the right side of it, or at least I haven’t figured that out…)
If you also use some 2 1/2″ scraps that aren’t full WOF, you can either trim them to 5″ lengths or just wing it, sewing the 5″ squares onto 2 1/2″ pieces as you go. Carefully cut these units apart, then trim as needed to 5″ wide by 7″ tall:
I then put these units in columns on a design wall but if you don’t have that kind of space, you may just be able to work column by column. Generally speaking I did columns of darks on the right and left sides with some exceptions and then the 2 1/2″ accent pieces (shown here in purple and orange) were staggered horizontally across the quilt, left to right:
When you want the accent pieces that run left to right to change direction, there are a couple of ways of doing that. One is to use a 4 1/2″ tall by 5″ wide rectangle as pictured above in the very right hand column immediately below the polka dot square. It’s not another 5″ square because of quilt math (seam allowances and etc…) This sends the accent fabric back the other direction.
Another “switch” that you can do is to split the accent rows by sewing a 2 1/2″ by 5″ piece that blends with your 5″ square fabrics to a 2 1/2″ accent fabric. Place that unit in a column to split the accent fabric as pictured on the right side:
Here’s a photo of my top/flimsy before I quilted it. Note on the lower right side I simply kept the accent fabric straight from one column to the next instead of staggering it which also meant the background fabrics were parallel in a few rows there. If you look around the top in general, you’ll see some spots where I threw in a 2 1/2″ accent piece just to “move” the accent lines. Most of my accent colors are orange, red, yellow, and purple but I had some navy/dark purplish strips I threw in. I kept some of my accent fabric lines short, possibly because I just didn’t have enough of that fabric! Also, changing the lengths of the accent lines creates a little more interest in the top or changing the accent color part way across the top. If you would prefer a more regular “wave” of the accent lines from left to right, then go ahead and make that top! I’m sure it will be beautiful!
Once you have your layout and columns figured out, you can simply sew the columns together. I recommend pinning all along these long seams.
Please watch this video to see more of how I used these layout strategies for this quilt top.
So there you have it: basically just sew your 5″ charm pack squares to your 2 1/2″ leftovers from bindings or jelly rolls or because you – like so many of us do – cut your scraps into 2 1/2″ strips. Chop them up and remix them and you’ve done some stash busting! Bonus points for doing some (probably) mindless chain piecing too while listening to a book or “watching” some tv.
I don’t know if you’ve seen it before but Wishwell Designs and Robert Kaufman fabrics have this *free* quilt pattern titled “Starlight” for a beautiful Lone Star quilt design available on the Robert Kaufman site. It features the “Moonlight” fabric line designed by Wishwell which has ever so slightly glittery folk-art/tarot card stylized suns and moons. I fell in love with the fabric so I made the Emerald Colorstory model for Gruber’s Quilt Shop. I did a few things differently – including strip-piecing the Lone Star sections – and I wrote a lot of notes in order to share them with more makers. This is *NOT* a Beginner Friendly pattern so if you’re a beginner, go ahead and download the pattern and these notes but then go back and work your way up to this one. I mean, it’s a really lovely Lone Star design but there are Y-seams in it plus all those diamonds that even if you strip piece, you’ll want to be familiar with handling so much bias and getting your points to match up decently probably. You could maybe avoid the Y-seams but even then, I would want you to have some more experience than just a couple of basic quilts under your belt. Anyone else wanting to take on the challenge, read on!
For starters, make sure you download the latest version of the pattern – there were some corrections to the original pattern so whatever’s on the Kaufman website is probably the most recent one. In the version I had, there had been corrections to yardage but on Page 3, for Fabric B cutting instructions, I found I needed Eight Template 1 cuts, not Four. Additionally, from Fabric D, the second border should be cut at 31/2” x 661/2” – NOT 651/2” as was written in the copy I had.
If the Fabric D cutting instructions you downloaded still have the wrong measurement, then you’ll probably also need to adjust the next two borders:
From Fabric I (G in this colorway) side borders should be 31/2” x 661/2” and the top/bottom borders should be 31/2” x 721/2”.
From Fabric K (H in this colorway) side borders should be 2” x 721/2” and the top/bottom borders should be 2” x 76”.
On Page 5 in Step 6, your seams won’t nest when sewing. Your seams will overlap at the quarter inch seam allowance. As you create the strips of diamonds for each large star “point” section in the previous Step 5, if you press the seams of one strip to the next to opposite sides instead of open, they will nest when you sew them together in Step 6. I use different colored arrows here to indicate how I pressed the seams in alternating directions from strip set to strip set:
The yardage in this kit/Emerald Colorstory is generous to the point of being excessive. If you are fussy cutting every single Template 4 and all the others, maybe, just maybe you’d use up the yardage but I don’t think so. If you purchase the yardage as is for the Emerald Colorstory you’ll have a lot of leeway. I can’t speak to the Astral Colorstory (blue) as the cutting instructions are different and I’m not delving into it.
Extra fabric can be beneficial if you make a whole bunch of miscuts or if you want to fussy cut the diamonds in the Lone Star, especially of the suns and moons. Like, if you are careful, you could strip-piece all the other fabrics except Fabric E – the suns and moons – and just FILL that row of diamonds with the artwork by fussy cutting each Fabric E diamond with Template 4. I think that would be gorgeous and PLEASE SEND ME A PICTURE IF YOU DO THAT. Additionally, there’s enough of Fabrics G & H that you don’t have to make the borders as in the pattern. So you might wish to first cut only the pieces for the center of the quilt top and then make decisions about the borders later as I did. If you make the borders bigger, remember you’ll need more binding because your top will be bigger. I had a healthy quarter yard of Fabric F left over from piecing plus the 5/8 yard included for the binding so I should be able to get more strips for binding from it. When the flimsy is quilted, I’ll evaluate it then. Another option is instead of a 21/2” binding strip, I could bind with 21/4” strips and I think that would be fine.
In my version above, Border 1 of Fabric D is the same as the corrected pattern. Border 2, from Fabric G, I made slightly narrower however, I have almost a full yard of fabric leftover so I could have made it wider too. The final border, Fabric H, I made substantially wider and included cornerstones cut from remnants of Fabric E (fussy cut to have a moon or sun in the middle of each) at the same width as the final border.
Border 2, I cut strips 3” wide by 661/2” long for the sides and 3” wide by 711/2” long for the top/bottom. Border 3/final, I cut at 6” by 711/2” for all 4 sides. I added four 6” square cornerstones of Fabric E to each end of the top and bottom strips before sewing onto the quilt top.
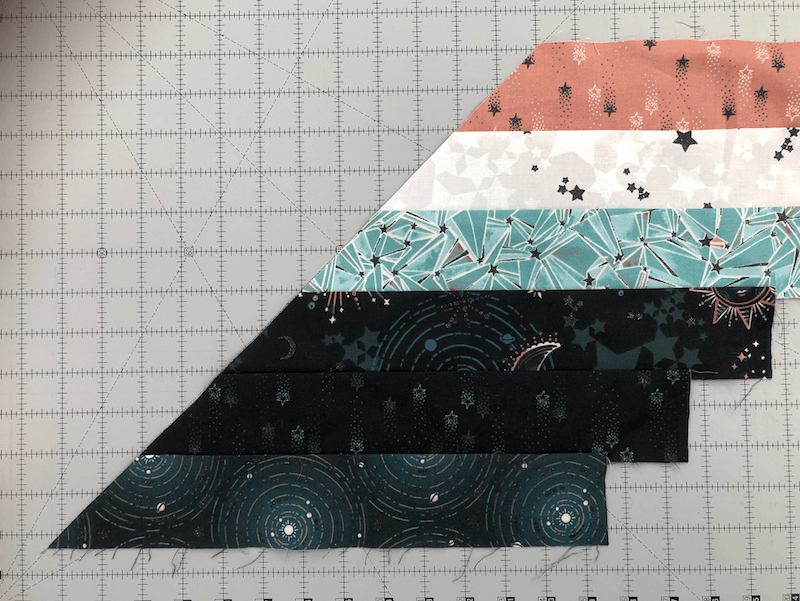
Here’s how I Strip Pieced the Lone Star Diamonds. First, I cut SCANT 25/8” strips of the various fabrics, sewed them into strip sets in the order indicated following.
You would need:
3 strips of B
3 strips of A
6 strips of C
4 strips of H
5 strips of G
6 strips of F
5 Strips of E
4 Strips of D
You then create/sew these Sets:
B – A – C – H – G – F
A – C – H – G – F – E
C – H – G – F – E – D
H – G – F – E – D – C
G – F – E – D – C – B
F – E – D – C – B – A
When you sew these strips together, you can offset each strip a couple inches to “save” fabric since you’ll be cutting the whole 6-strip piece at an angle later. Here you can see I sewed my 2nd strip a little over 2″ to the right of the edge of the 1st strip – the teal stars on the bottom. My 3rd strip is also pinned a couple more inches to the right:
Next, you cut the completed 6-piece Strips Sets at a 45 degree angle into (8) substrips at SCANT 25/8” (You can and should use the Template 4 as a guide to make sure your strips are the same width as it is.) In this photo, I used the 45-degree marking on the mat to trim the edge of my strip set.
Then, I used a Creative Grids Itty-Bitty Eighths ruler to cut a SCANT 25/8” slice off of the left side. Ruler positioned in this photo:
Once they’re all cut, you can assemble the diamond units as in Steps 5 and 6.
Next, let’s talk about Y-seams a little bit. ok, you only have 8 of them to deal with or 16 if you, like I do, always start at the Y intersection and sew outwards. I only had to rip out a couple of them and redo them. IF YOU WANT TO COMPLETELY AVOID Y-SEAMS IN THIS TOP: You could split Template 1 in half lengthwise and add on your seam allowance. This would result in a Template 1 Left and Template 1 Right. There’s plenty of Fabric B in this Colorstory to do this. You would then construct the Triangle Units on Page 4 in Left and Right halves with the other templates, 2 and 3, except don’t sew the large Fabric E triangles on in Step 3. Instead, sew the Template 1 half units onto the sides of the points of the diamond units. Then as you sew the 8 diamond units together, you just continue sewing the seam through the split Template 1 out to its end. Once your star is all assembled, you would sew the large Fabric E triangles onto the corners to make the center square. If I ever make this again, this is totally what I’m going to do (and I will get some more photos of how I’m doing it.)
In conclusion: these notes are not a guarantee of results. This is an intermediate to advanced pattern and my recommendation is that you should be comfortable with either testing this pattern with scrap fabrics at various points to make sure you’ll get the results you need, or that you are confident enough in your skills that you’re sure you can get through all this.
Have fun and enjoy the pretty fabrics while you’re doing it!
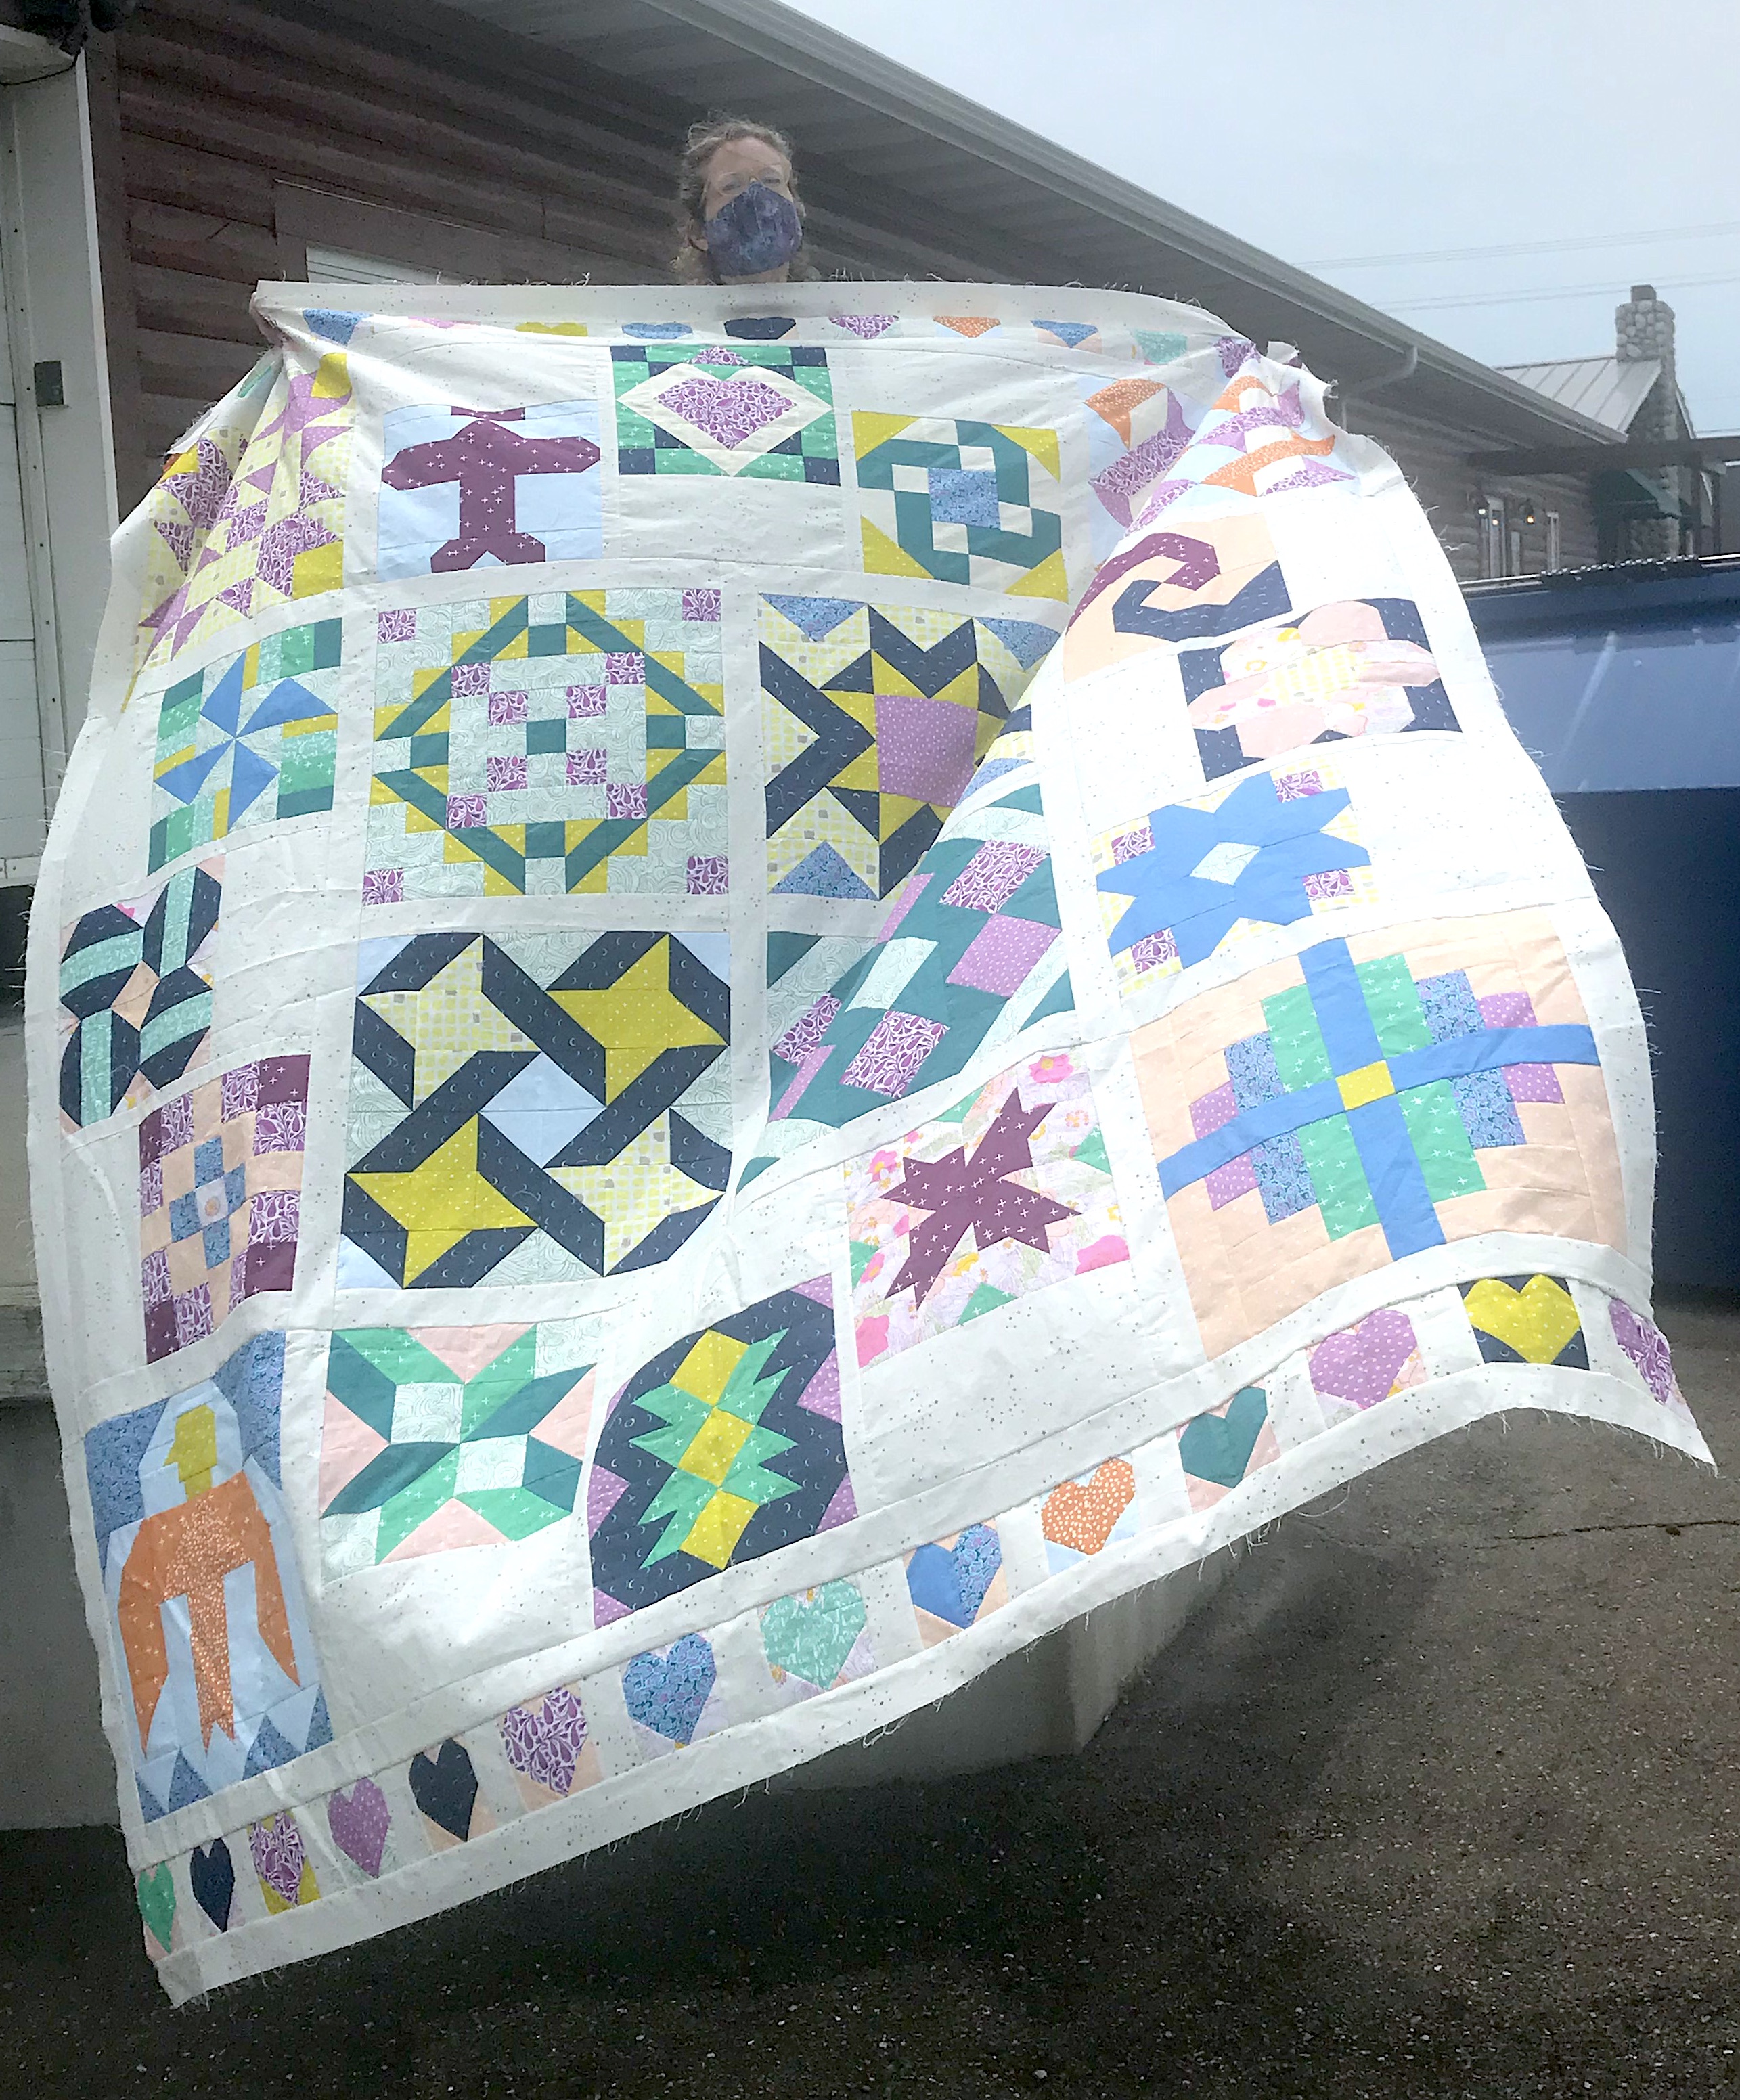
Life has been crazy hasn’t it? Before the Covid-19 pandemic and all the changes around the worldwide response to that, I started working a lot for my local quilt shop again last fall, helping them get their computers and data together for a new point-of-sale system. Between that and a sampler that I’m writing and my son graduating high school, I have not really found time to post any new content here. I apologize for that because I can see people are checking in and I’d like to keep y’all up to date!
Guys! I’m writing a whole sampler! It’s a big stretch for me and as always happens with my creative process, I go through stages of loving it, not loving it, just wanting it done, and being so excited that this HUGE project is something I can even do! It’s really just about complete – just need the testers to go through the setting instructions for me.
More fun still for me is that it’s the “Know Them, Raise Them, Be Them” sampler honoring 20 women throughout history to whom we can look for inspiration. I wrote condensed biographies of each woman (and got great proofreading and editing help from my husband and from a dear friend). I have to say that the research and thinking about each story was wonderfully reflective and educational for me. I hope it’s the same for many quilters.
Here’s my first flimsy of the quilt, photo taken on a hazy day:
And it’s getting quilted at The Quilt Shack at Lichy Woods. Her Facebook page is at https://www.facebook.com/quiltshacklichy if you want to follow along. She’s doing some very fun custom quilting for me.
The patterns have been published on Gruber’s Quilt Shop’s website over the last several months as many of you already know. We’ll have the whole package for sale there as soon as testers approve the final setting instructions!
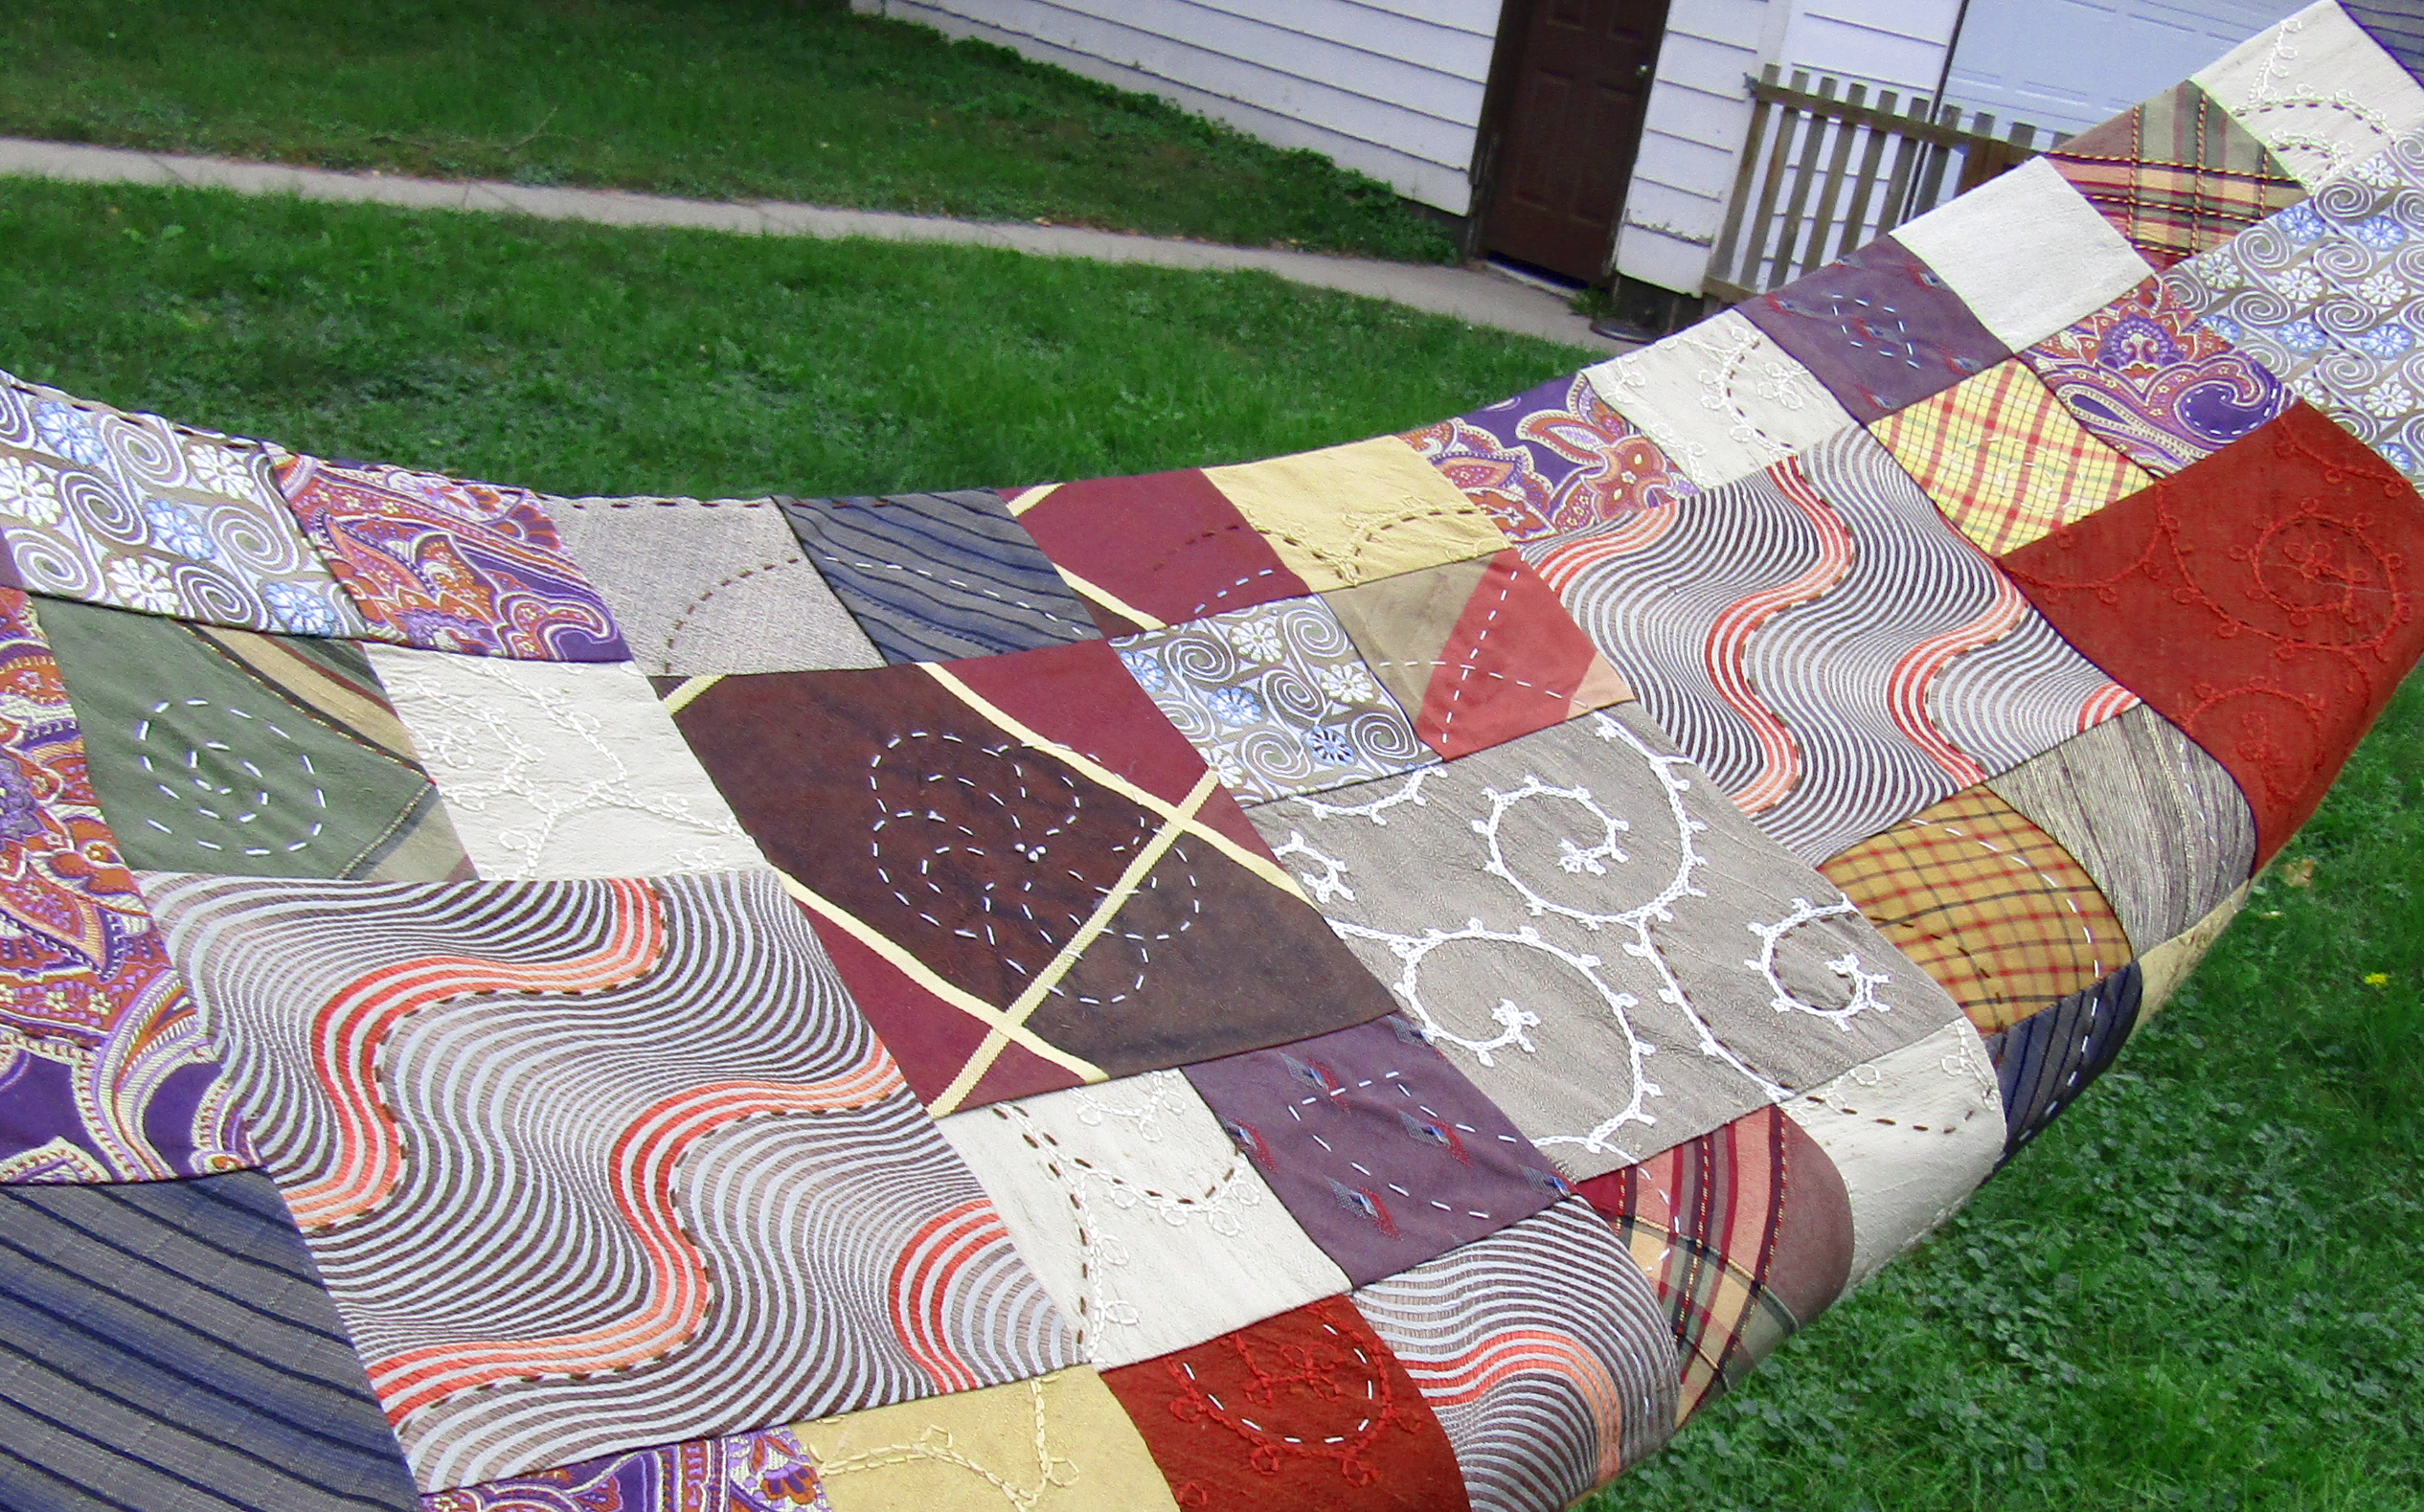
I finished editing Part Two of my Upcycled Silk Patchwork Scarf videos. Since we are near the Holidays I’m not adding other links at this time. I also have another upcycled project I will be starting on soon to share so I had to make sure I got this uploaded now!
I’ve basically finished an Upcycled Silk Patchwork Scarf – I can “quilt” or stitch it together a bit more but I have done a good chunk of it.
Squee! I am so ready for cool weather with this – it’s going to be nice and warm. I used a mix of old ties from my father and husband, a couple second hand store ties, some raw silk remnants from my mother’s stash, and silk decor fabrics I picked up at Goodwill. I tried my hand at video blogging my thoughts and process in prepping for the project here:
Please comment if you have questions about anything. I plan to do another video with further tips and explanations of how I approached this but have to get through the Chaska Quilt Expo next week first. I do have to tell you right now though that it’s a mind-‘splode switching back to quilting cottons after sewing silk on the bias, the cottons are so much more stable! (duh… right?)
Here are a few other “working with ties” or silks videos or blogs I looked at while preppng my own fabrics. Just about everyone has a different approach of course. Surprise, surprise!
These 2 have some great tips, and they have fun!
Beautiful scarf project made from mostly old kimono fabric:
Chatterbox Quilts – no info on washing but great shots.