Or as a young co-worker of mine said, “I don’t know what a Millenial Falcon is.” aaawwww… I gave her a fist bump. Should I just call it a “Rebel Spaceship” block? I mean, am I going to get sued? ok, *what*ever… It’s a humble little block in homage to one of our favorite scifi/family-problems drama series, right? Also, Han is hot.
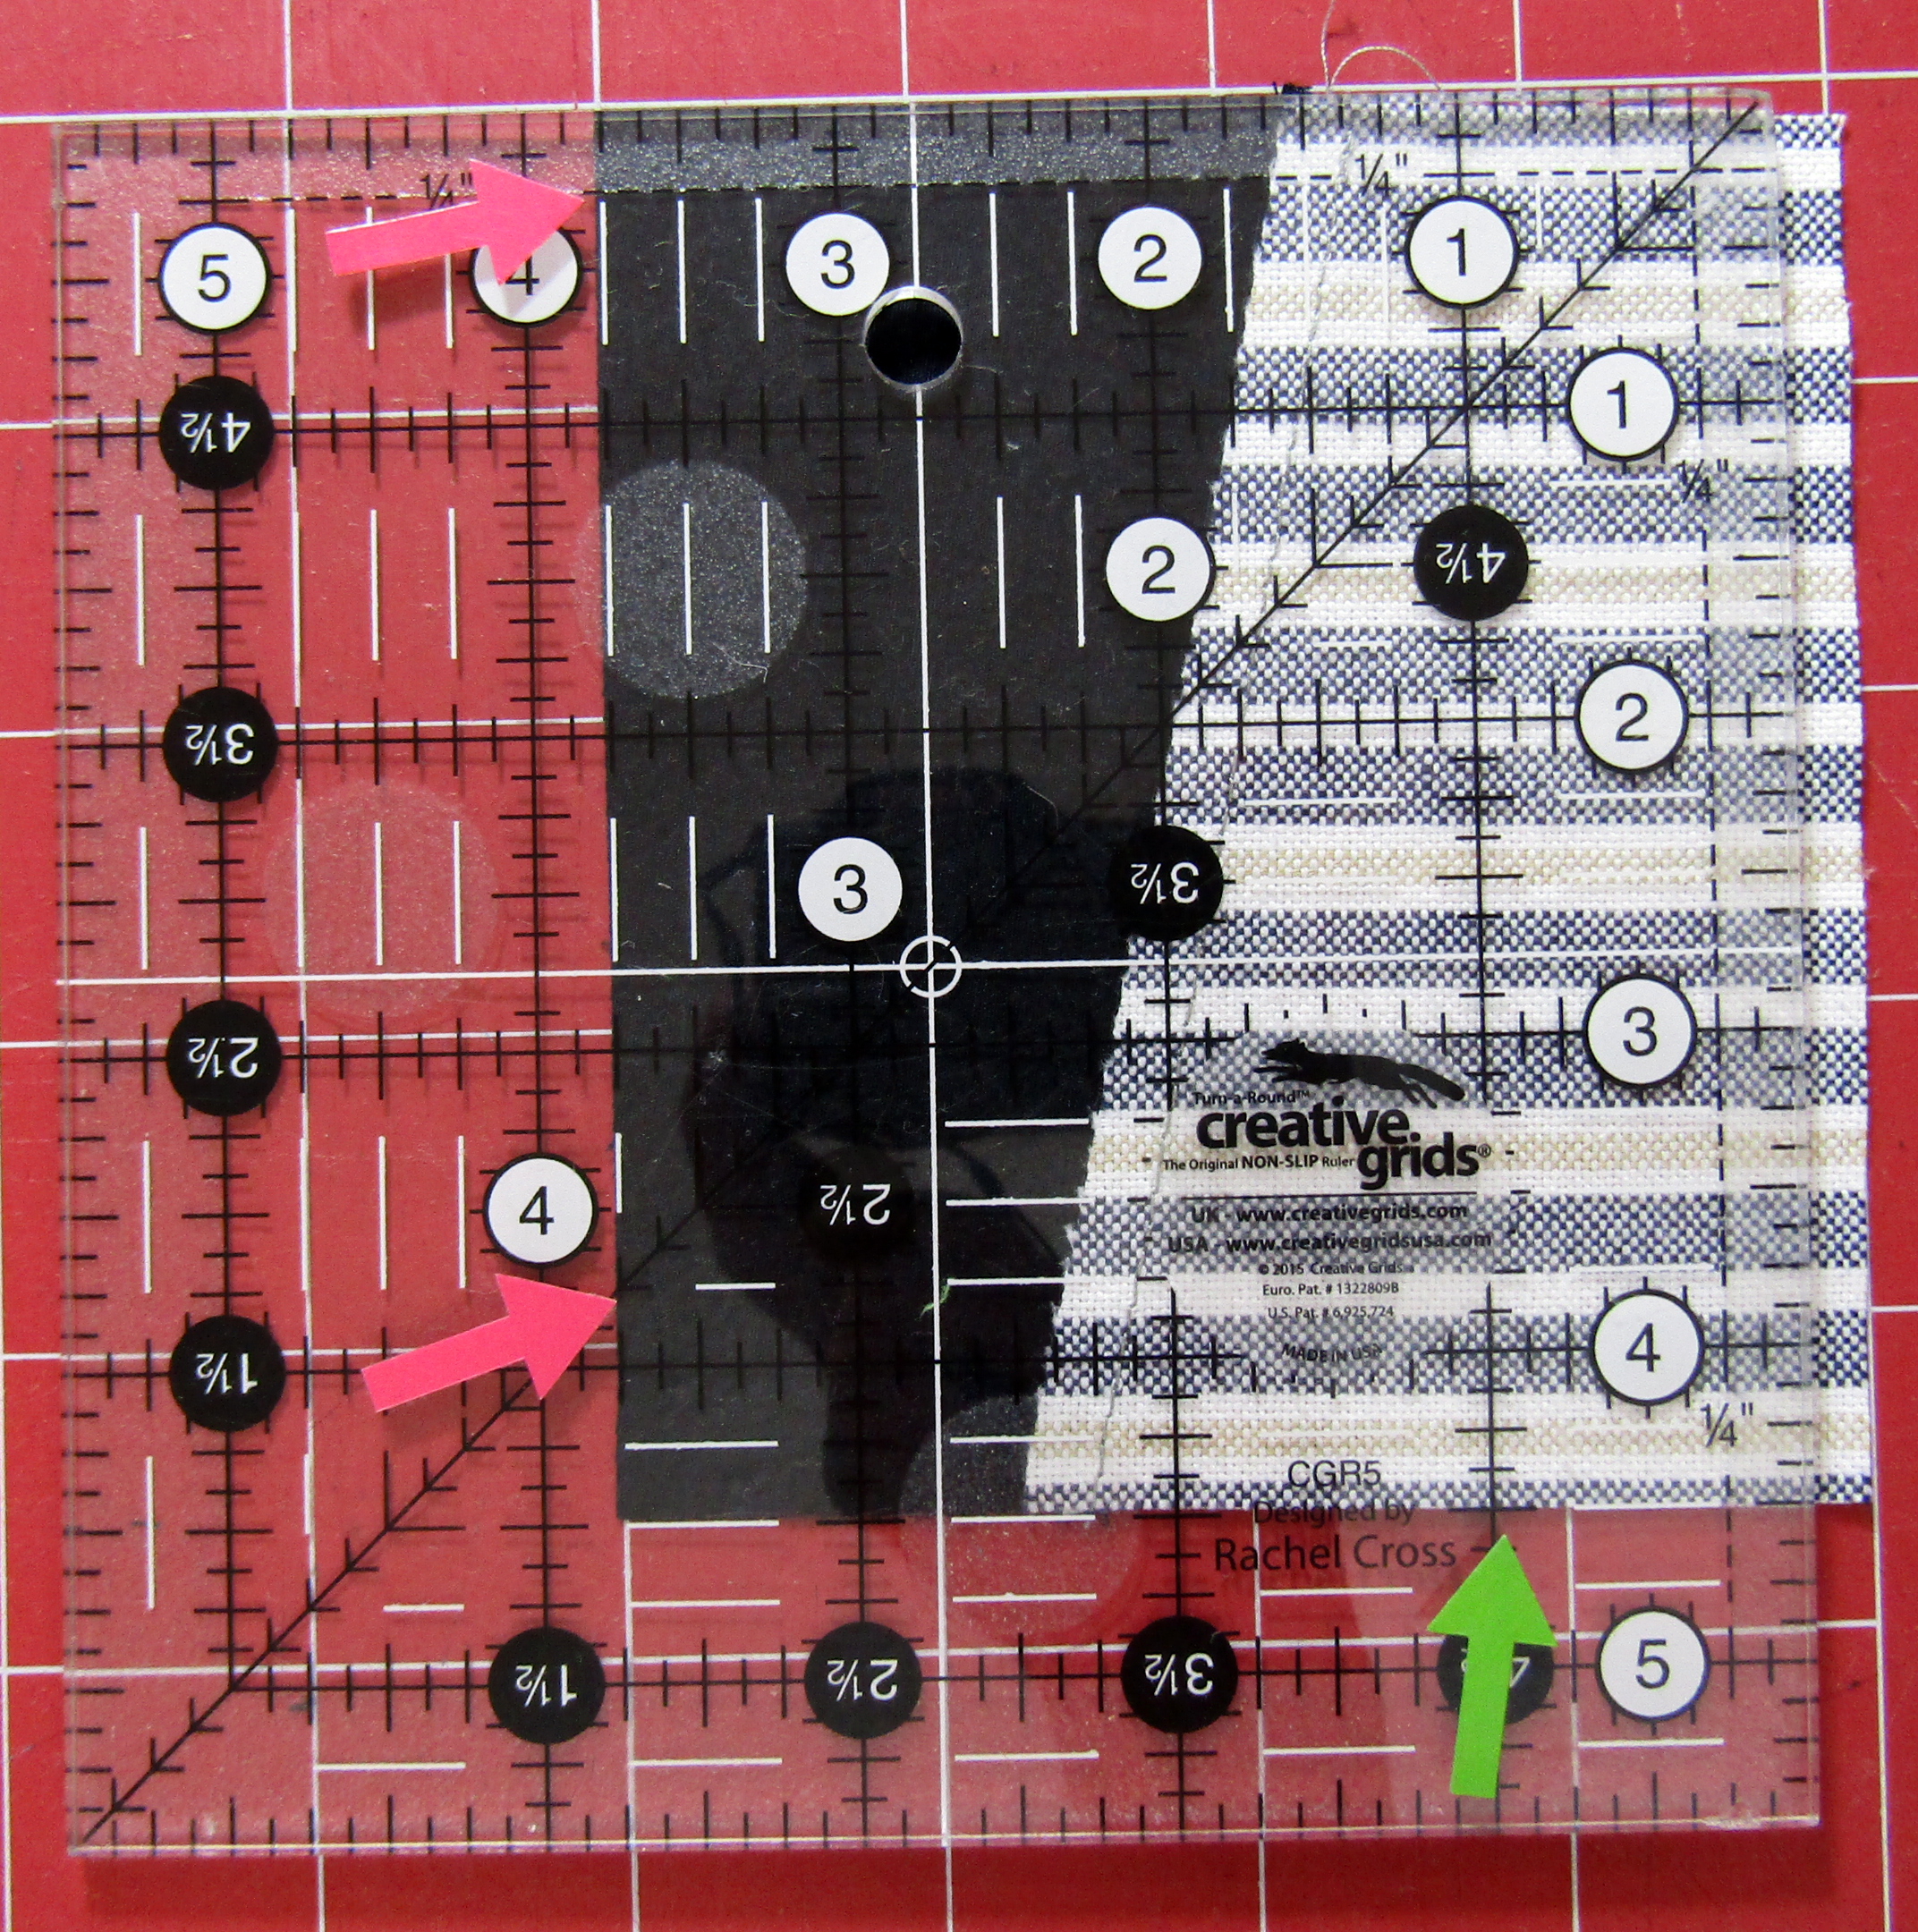
For this block, you’ll need a 45 degree ruler or template. The body of the Millennium Falcon is basically a classic kaleidoscope/octagon quilt block. My favorite ruler for this is Creative Grids’ Spider Web ruler by Karla Alexander. Admittedly, I’m generally a fan of her rulers as she makes an effort to indicate so many cutting options and sizes, always, *and* in such a way that you don’t end up with bias edges on the outside of your blocks (more about that at a later date). When you cut your triangles, the ruler has a little black triangle marking at its tip that extends beyond your fabric strip – indicated with the lime green circle here (some might call this a “smart corner”):

Maybe you have a different ruler. The Squedge 45 degree ruler has a flat top that will line up with the top of a rectangle or strip as does the smaller Creative Grids Kaleidoscope and Dresden 45 degree ruler, CGRTKAL45. If you use another 45 degree or kaleidoscope ruler that includes the triangle tip but it’s not blacked out or marked in some way to eliminate the excess fabric, you will need to cut your kaleidoscope triangles at 4 ⅞” (or even 5″ but you’ll trim more) when the sharpest point is included.
I used up scraps for my fabrics and even did a block with mostly upcycled shirts from my father and from my husband. Since Star Wars is at least in part about father *and* husband issues, I think it’s appropriate! You could easily get the (8) kaleidoscope triangles out of a fat quarter but I’d recommend pulling scraps – a single 5″ by 4 ¼” rectangle would give you one kaleidoscope triangle, a 4 ½” tall strip (as in my picture above) longer than 4 ¼” will get you more triangles. If you can throw in some red bits at the tips of your triangles too, the original Millennium Falcon does have some red panels on its hull but I did not include specific directions for those.
I also use Karla’s Straight Out of Line ruler to make the wedge blocks here. It’s a gentle angle and could be done without the ruler but I like the consistency of having a ruler – I’m much less likely to mess up my cuts.
A scant ¼” seam allowance is what I want you working with here. This means your needle and therefore your seam will fall at *not quite* a quarter of an inch. Your seam should be a thread or two less than a quarter inch. This way when you press open, material that is lost in the fold (it is just the mechanics of it) will not impact your final size.
Fabrics and cuts:
(8) 45 degree triangles from lights/grays, 4 ½” tall with flat top, 4 ⅞” with point
(2) 3 ¾” squares of black or darks, cut once diagonally to make a total of (4) half square triangles
(2) 4 ½” squares of lights/grays* for wedges/”mandibles”
(2) 4 ½” squares blacks/darks* for wedges
(1) 2” square light/gray
(1) 2″ x 3″ dark rectangle
(1) 2 ¼” square light/gray
Assembly:
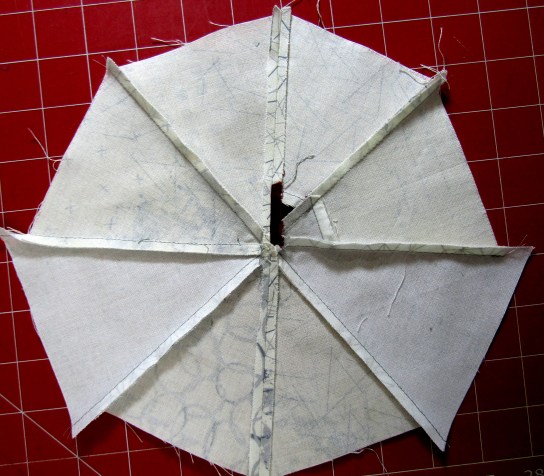
Piece your (8) 45 degree triangles into a kaleidoscope center. I usually do (4) pairs proceeding around the kaleidoscope, then pairs of pairs to get half the kaleidoscope, then the (2) halves together.
Each half should have a good ¼” seam allowance above the points. Here’s a pretty good one:

I press in one direction around my kaleidoscope. Here’s the back of the same half:

Sew the (2) halves together to create your octagon/kaleidoscope. I press this seam open:
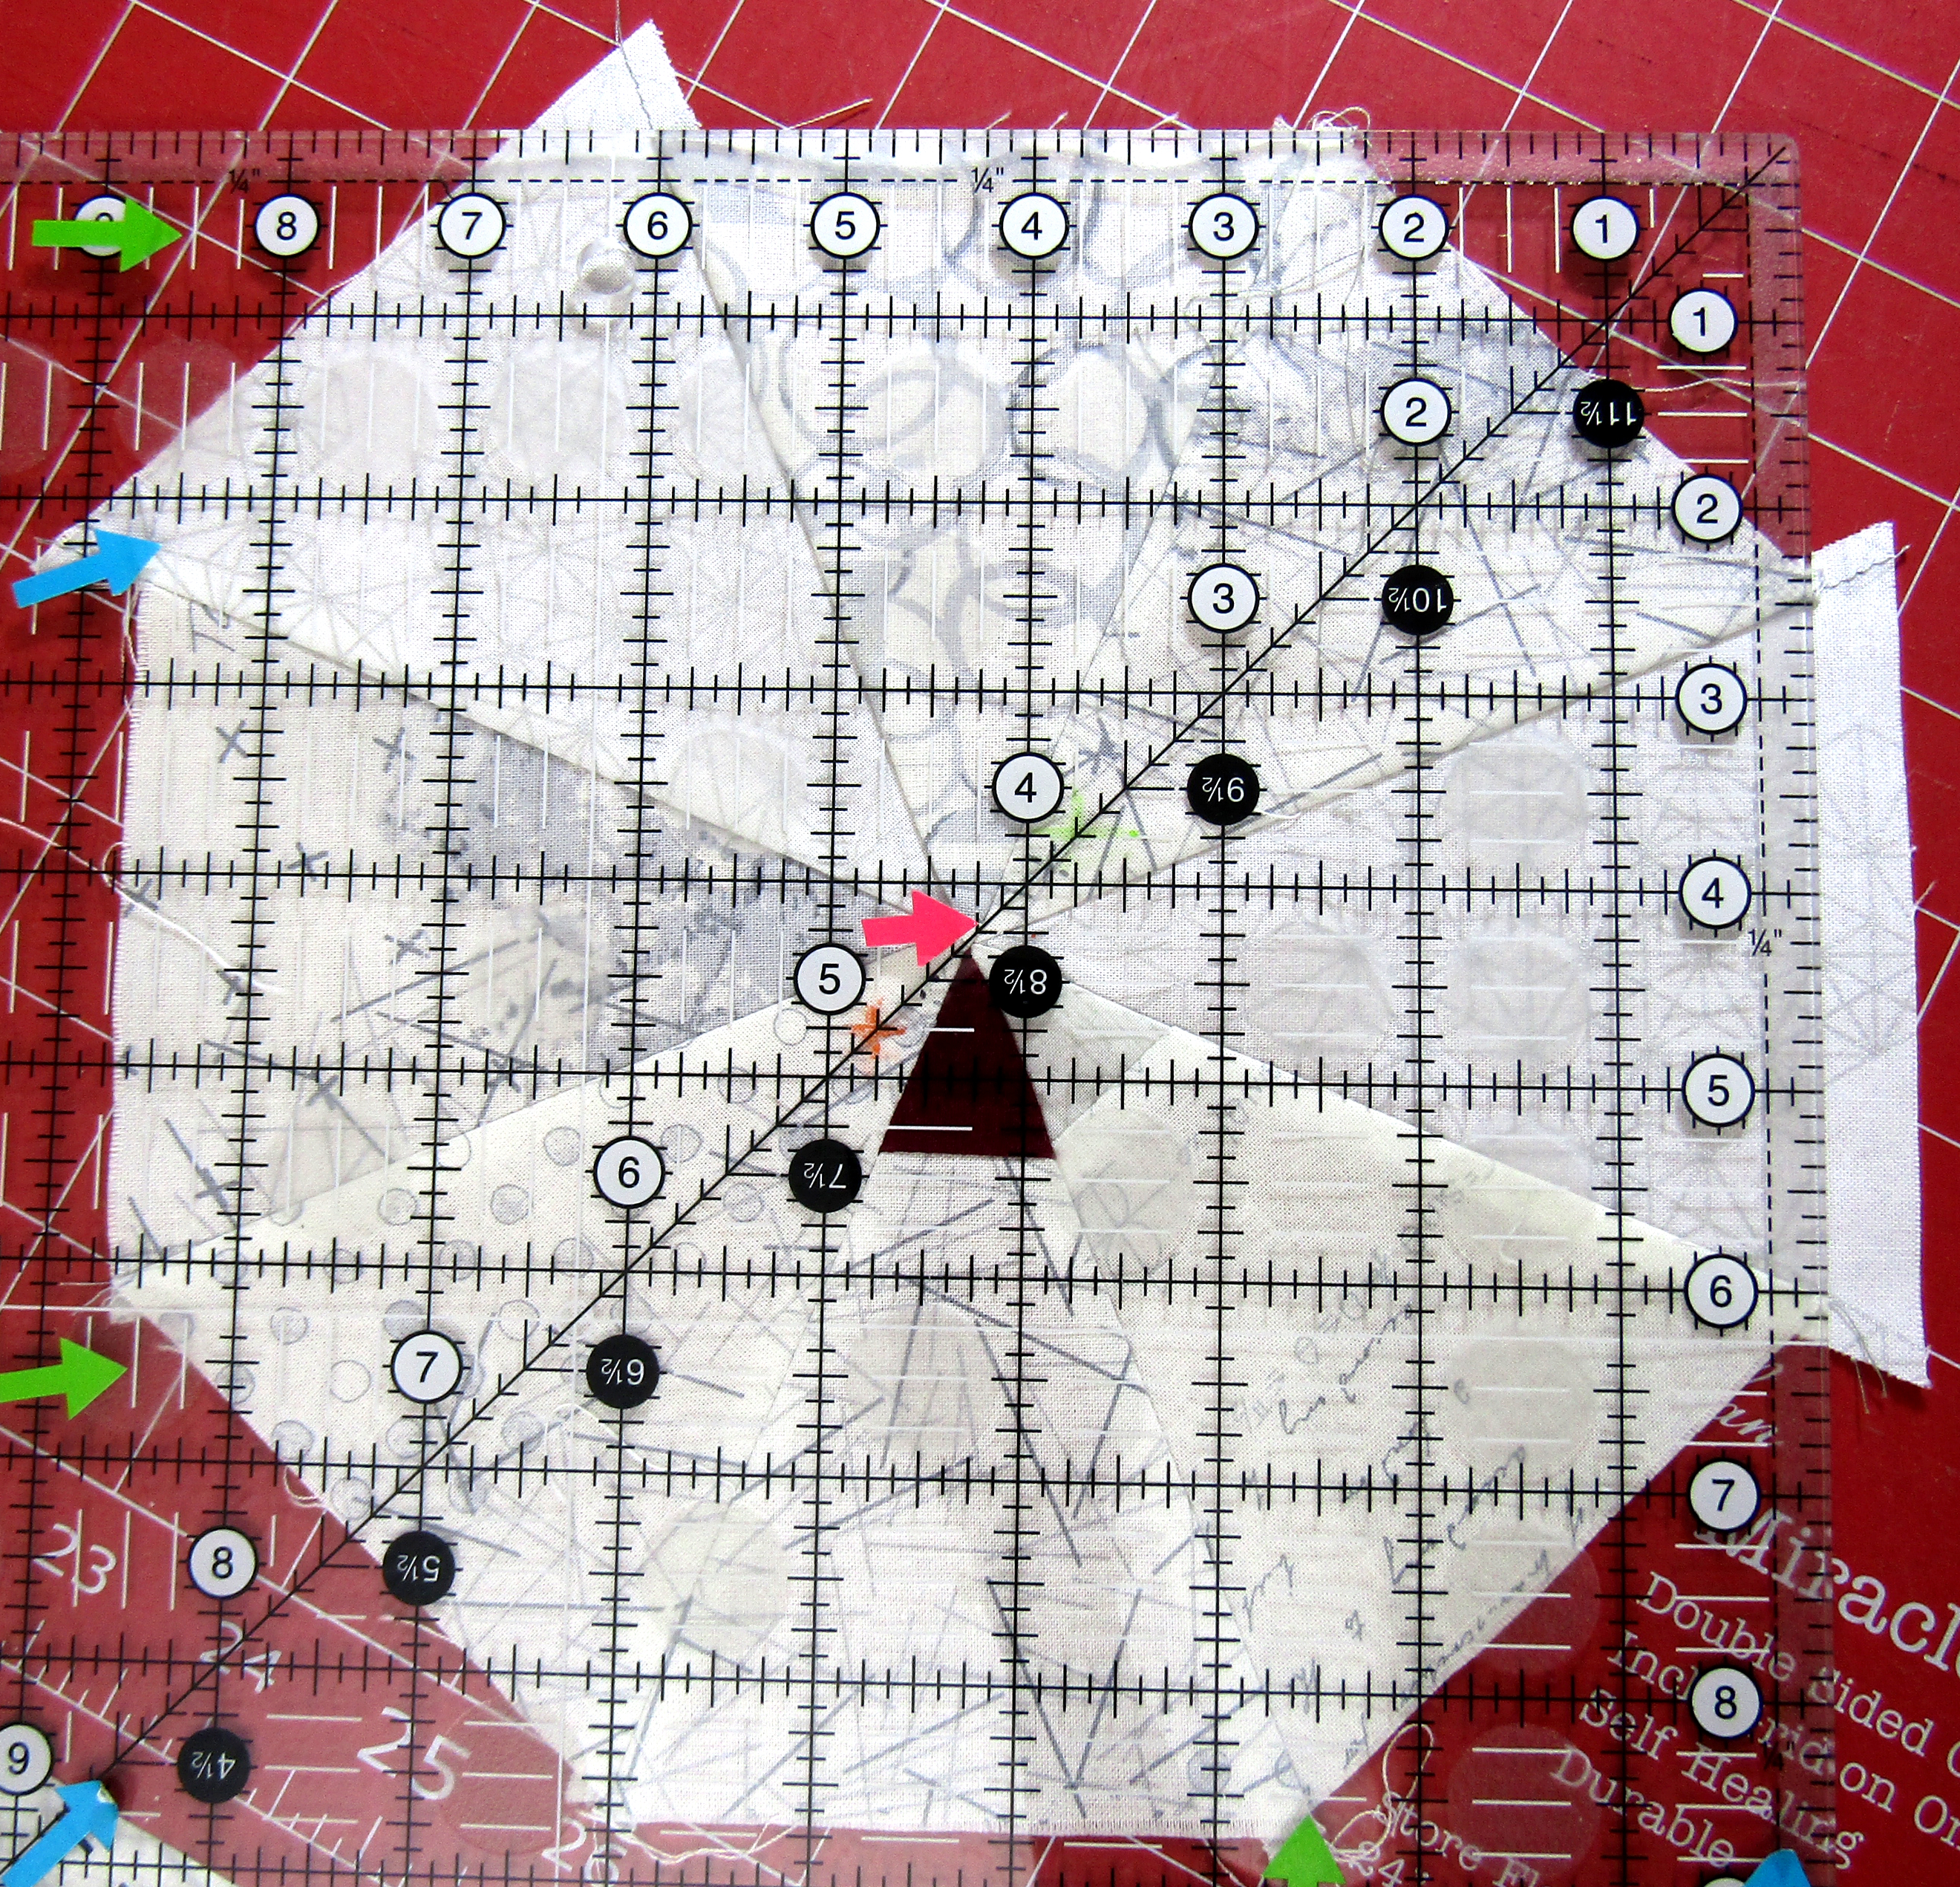
“Square” the octagon (Octagon the octagon?) at 8 ½” wide all the way around. Your 4 ¼” point should be roughly the center from both directions as indicated with the pink arrow. I made a couple of my 45 degree triangles from 5″ strips so I have more to trim off of those but even the triangles made from 4 ½” tall strips or pieces may have a little to trim off. :
Decide on the orientation of the MF’s (Millennium Falcon’s!) main body, sew a black half square triangle to each of the upper-left, lower-left, and lower right corners.
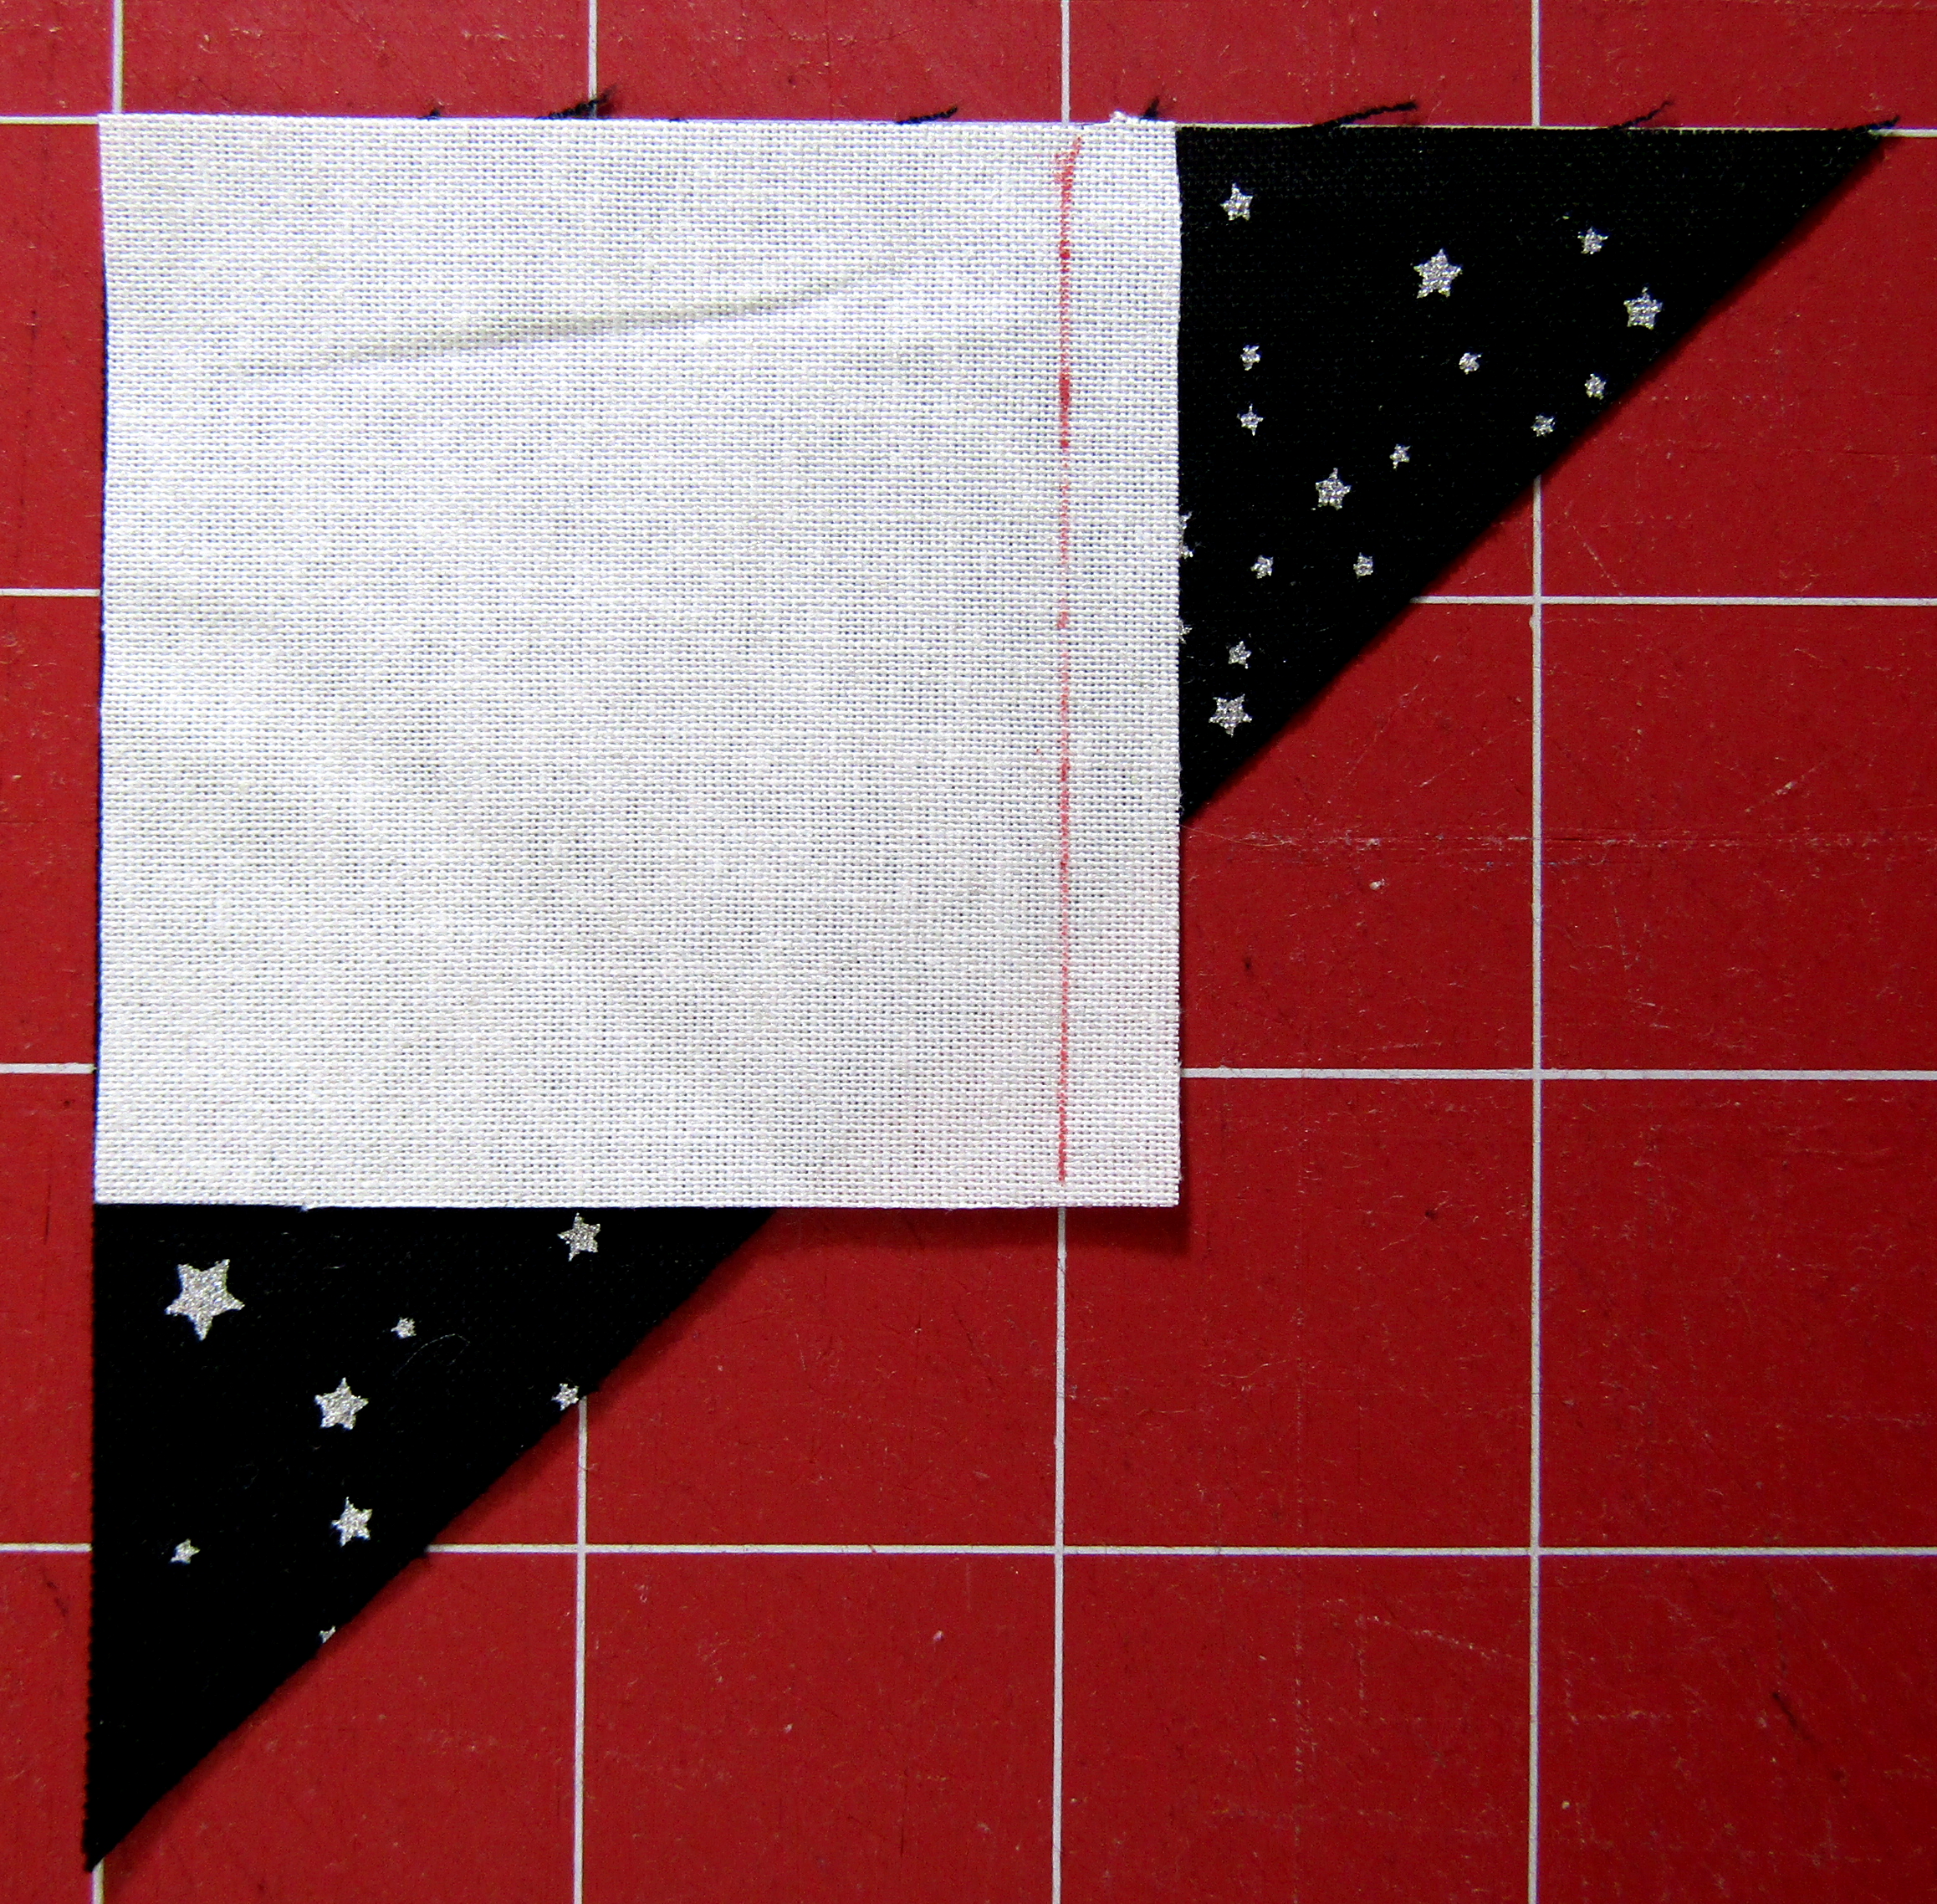
Take your 2 ¼” light square and place it right sides together with the last black half square triangle, lining up at the square corner of the black/dark triangle. Stitch your ¼” seam as indicated:
Press this unit open, trim away the excess light and dark to make a half square triangle again the same size as the original dark triangle was. Sew it to the last remaining corner of the MF, the upper right, to get your “cockpit” corner.
Trim ¾” from the front edge of the MF (where the “mandibles” or wedge pieces will be sticking out) , like so:
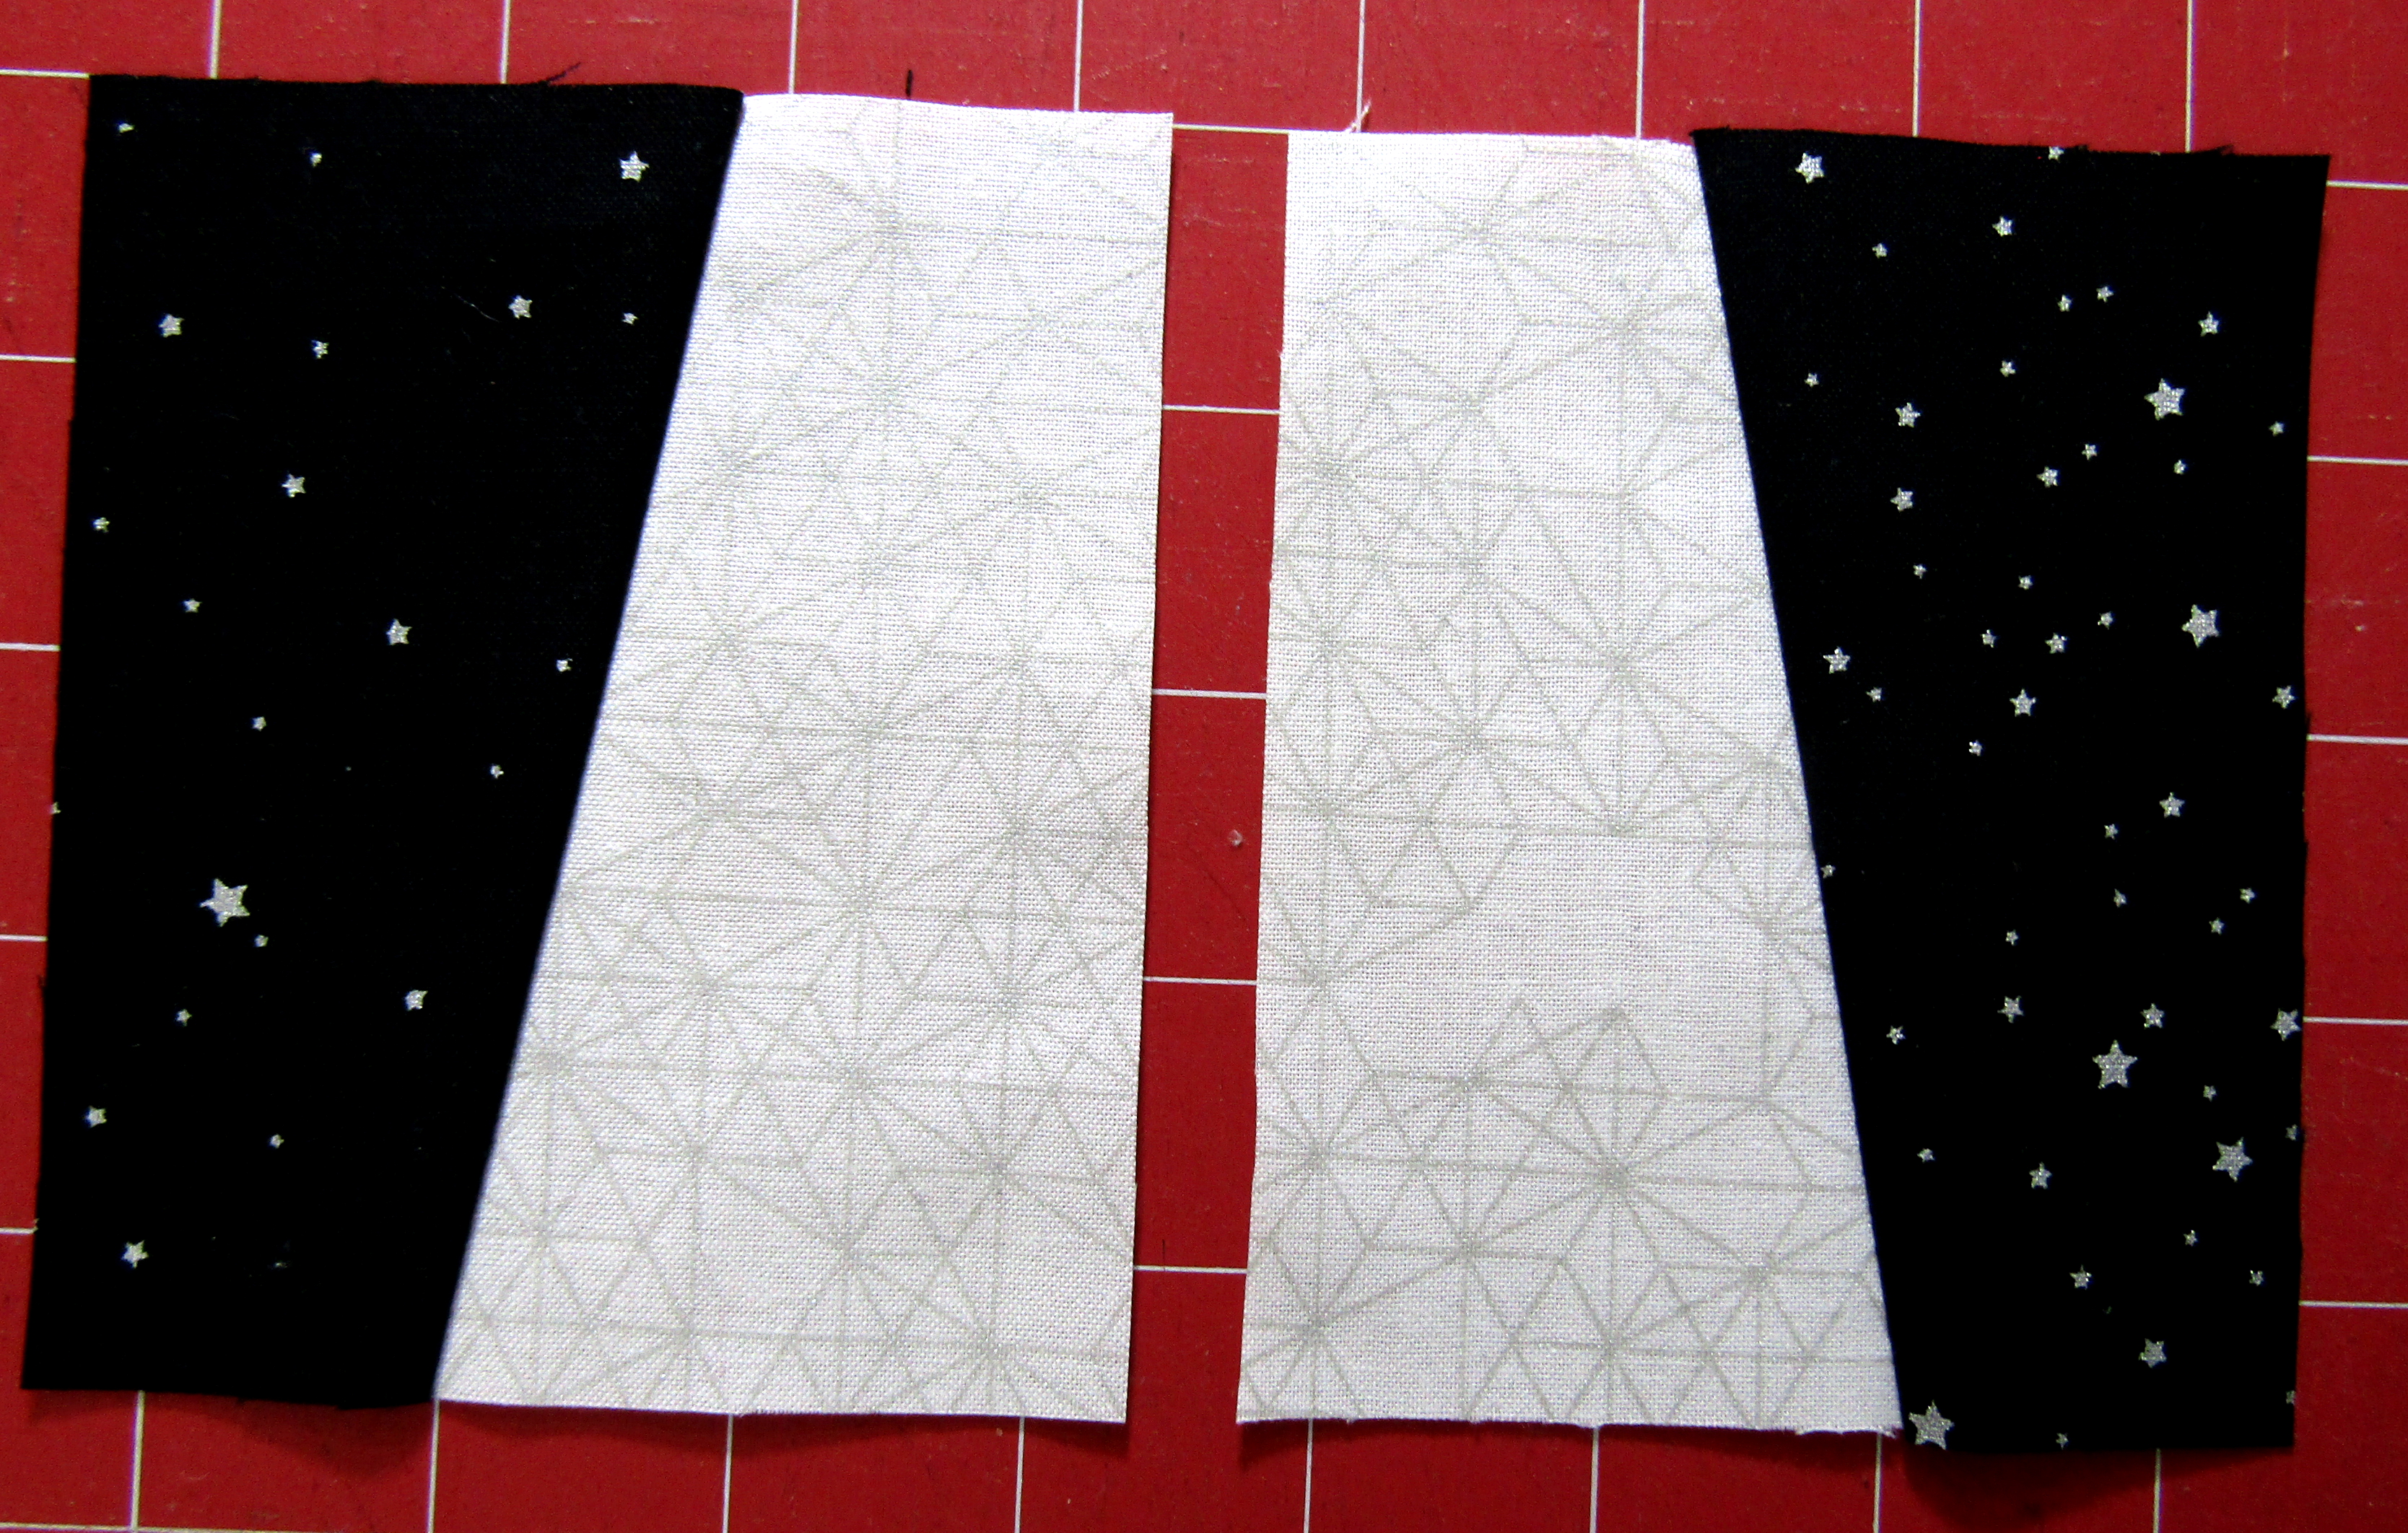
Cut (1) light 4 ½” square into 2 wedges using the Straight Out of Line ruler (alternately cut across the middle of the square at a slight diagonal, not a deep angle) and flip the other light 4 ½” square upside down and cut it into 2 wedges to get your reverse or “mirror” cut wedges also either with the ruler or with a gentle angle using a straight ruler. (* This is where if you are using solids or wovens or other fabric that is easily reversible as some batiks are, you will only need (1) 4 ½” square each of light and dark because you can just flip your wedges into whatever orientation you need.) Repeat with your dark 4 ½” squares.

Sew (1) light wedge and (1) dark wedge together to form one mandible unit and (1) mirror light wedge and (1) mirror dark wedge to get your other mandible unit. When you put your wedges right sides together along the angled edge, there will be small dog ears at the ends and they should meet where your quarter inch seam allowance will fall:

When pressed open, your mandibles should basically look like this:
Trim each of these units, by taking off some of the long edge of the light wedge, to 3 ¾” wide (they should still be 4 ½” tall but if not, trim each of them to be the same height also, 4 ⅛” or 4″ tall will be okay, it will just change your final size):
Sew your 2” square light/gray to your 2″ x 3″ dark rectangle to get a 4 ½” long piece to go between the mandibles. If your mandible blocks are shorter than 4 ½”, just trim this long piece to be the same length, taking a little off both ends as needed to get the right proportion.
Stitch this last strip to the long light edge of a mandible unit, then stitch on the other mandible unit. Take care to make sure when you open everybody up they are oriented this way:

(I noticed these same shapes in Jurassic Park last night.)
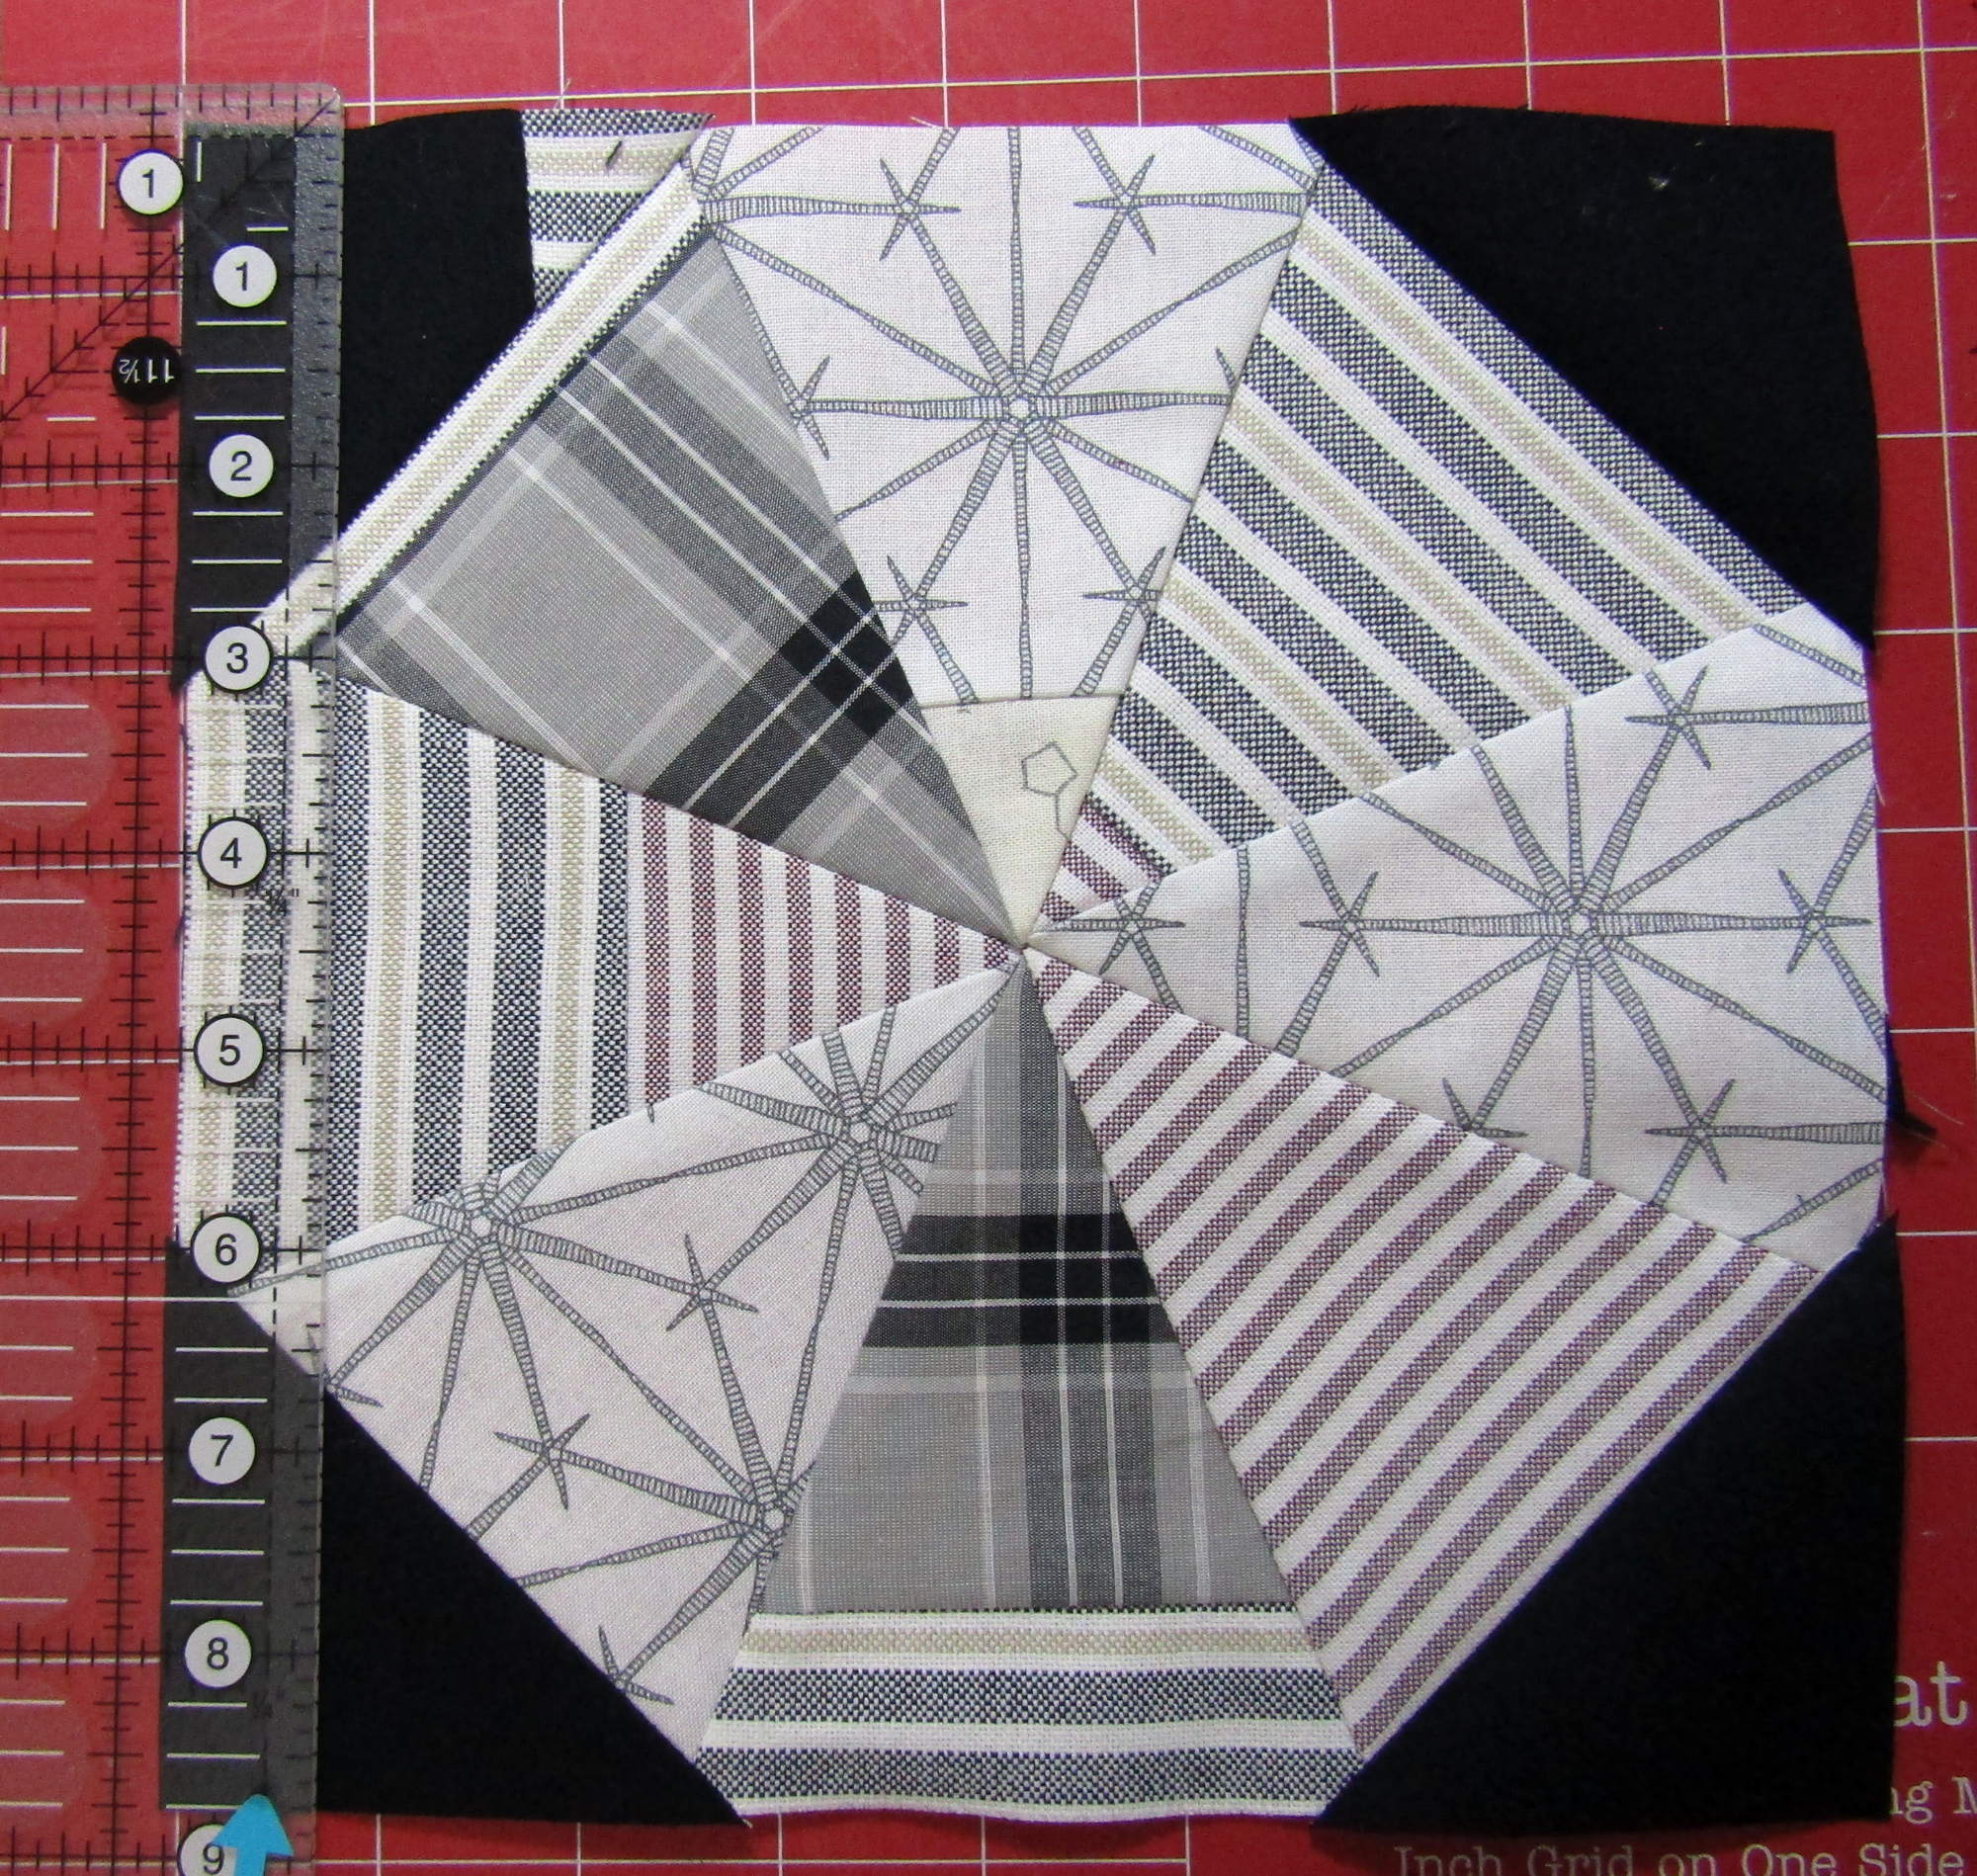
Lastly, sew this mandible unit to the front of the body unit to make your completed Patchwork Millennium Falcon! It should measure 8 ½” wide by 11 ½” tall unless your mandibles were a little shorter… This one’s my upcycled one which I *do* really love the striped fabrics in it.

Feel free to send me your questions and comments at jill [at] materiella.com
Check out the patterns I have for sale at my etsy shop: https://www.etsy.com/shop/MateriellaDesigns/
Thanks!

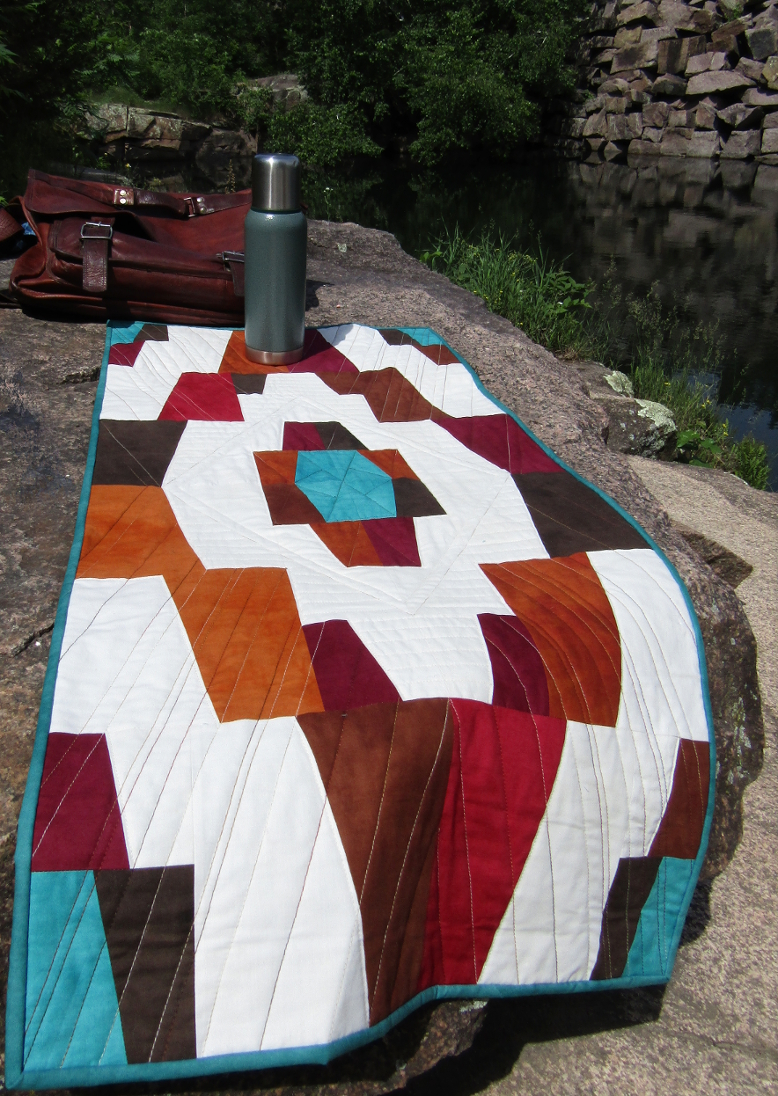


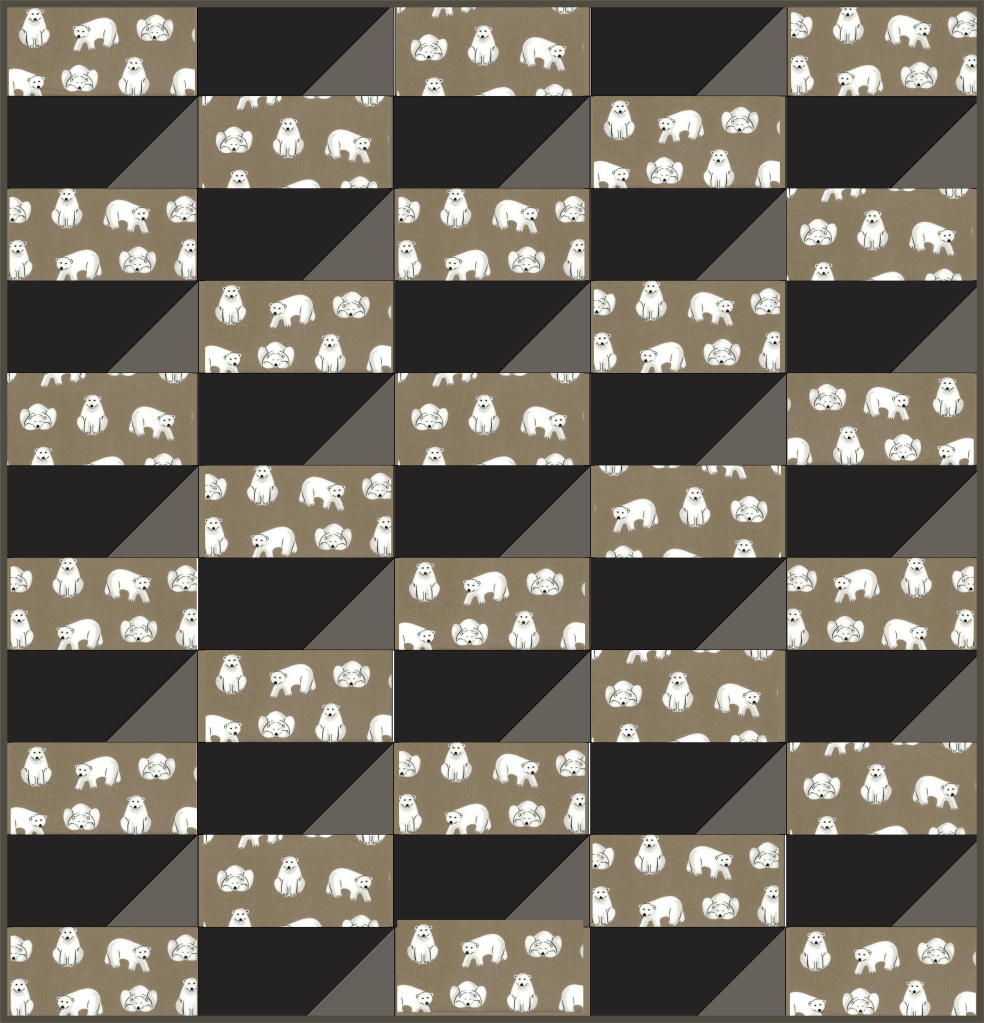


 The center square plus the first row are looking pretty good in this one. Then my 10″ check starts showing that my seam allowance was getting too big by a thread or two (which was *weird* because in some patterns my scant 1/4″ is too narrow since I use a 1/4″ blade foot for my Pfaff and then can adjust my needle to make it even a bit more scant):
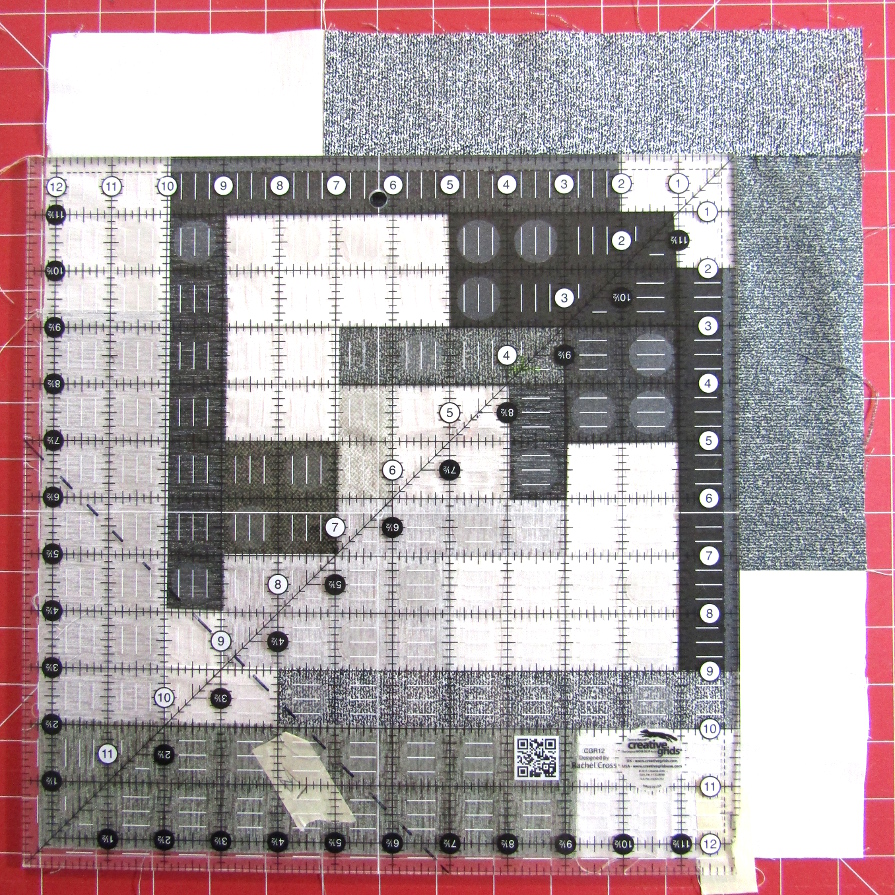 I did do some unsewing on the blocks a couple of times.
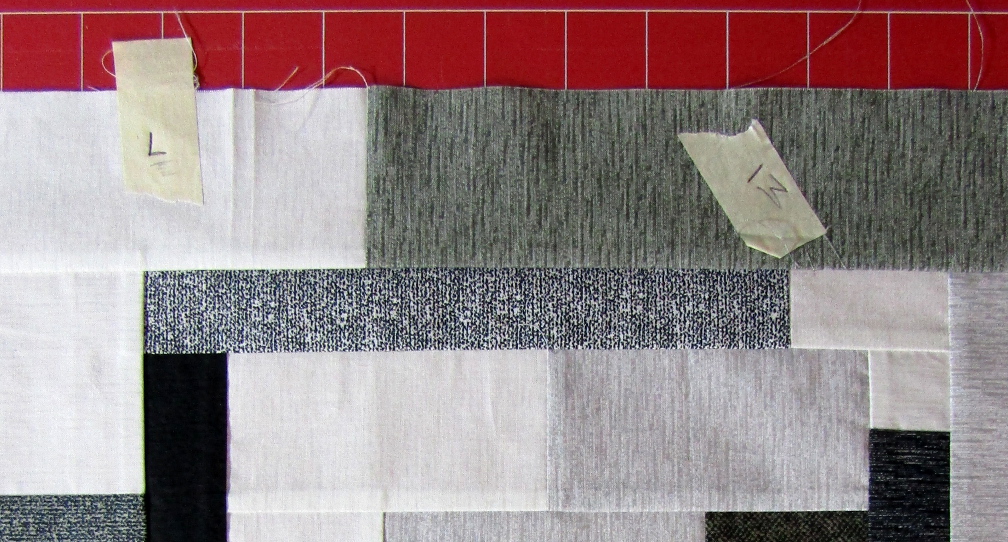
 Whereas by the time I had my blocks together, I had a fairly hairy back!
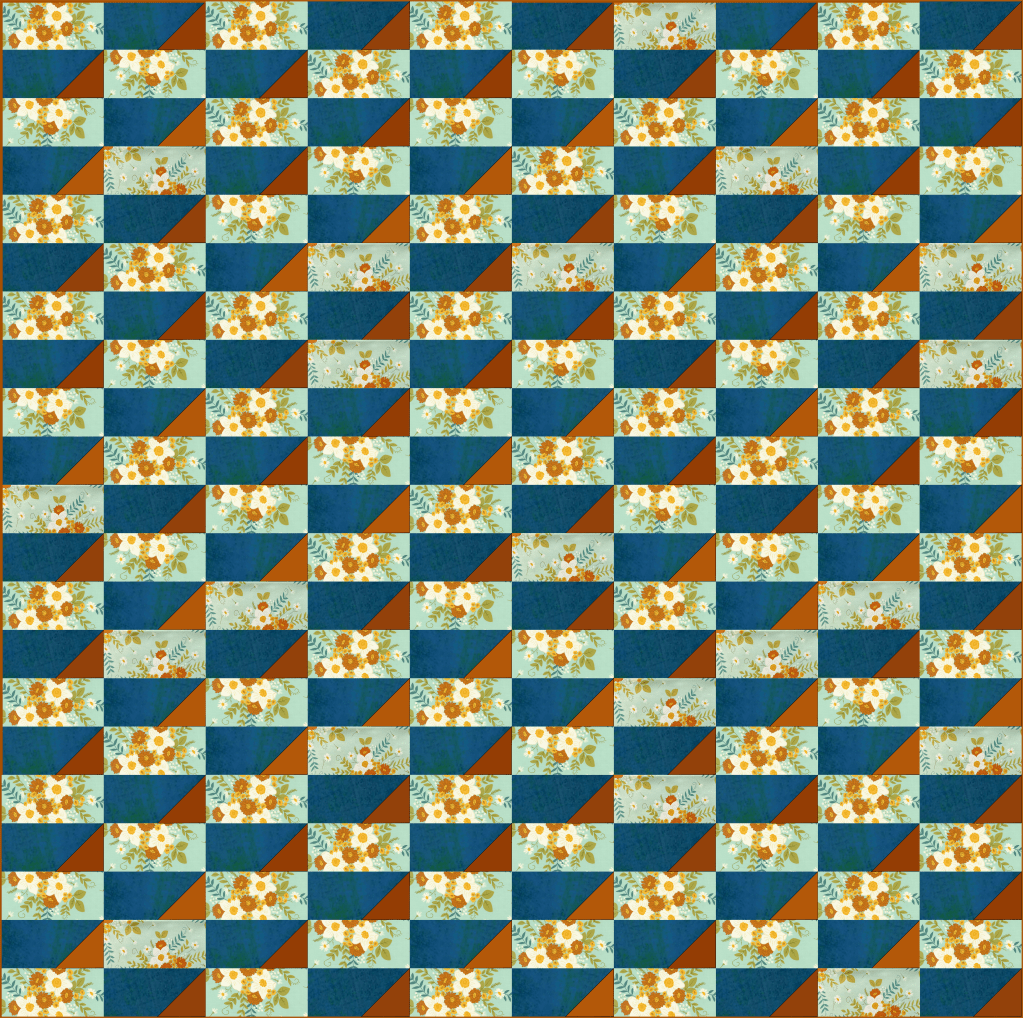
  Some fabrics are just this way, but also a couple of spots are due to my masking tape hitting the edge. This really isn’t *too* bad (Not like wovens, I love wovens/homespun but talk about fray potential!) but I did try to trim and clean up most of this before giving the flimsy (top) to a long-arm quilter to baste and do some preliminary stitching for me before I do some handquilting. If it really bugs you, you could use some Fray Check on your edges and/or zig-zag baste or serge your edges.
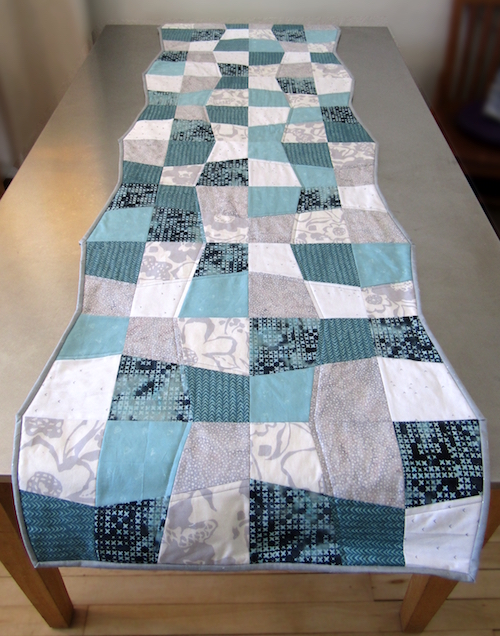
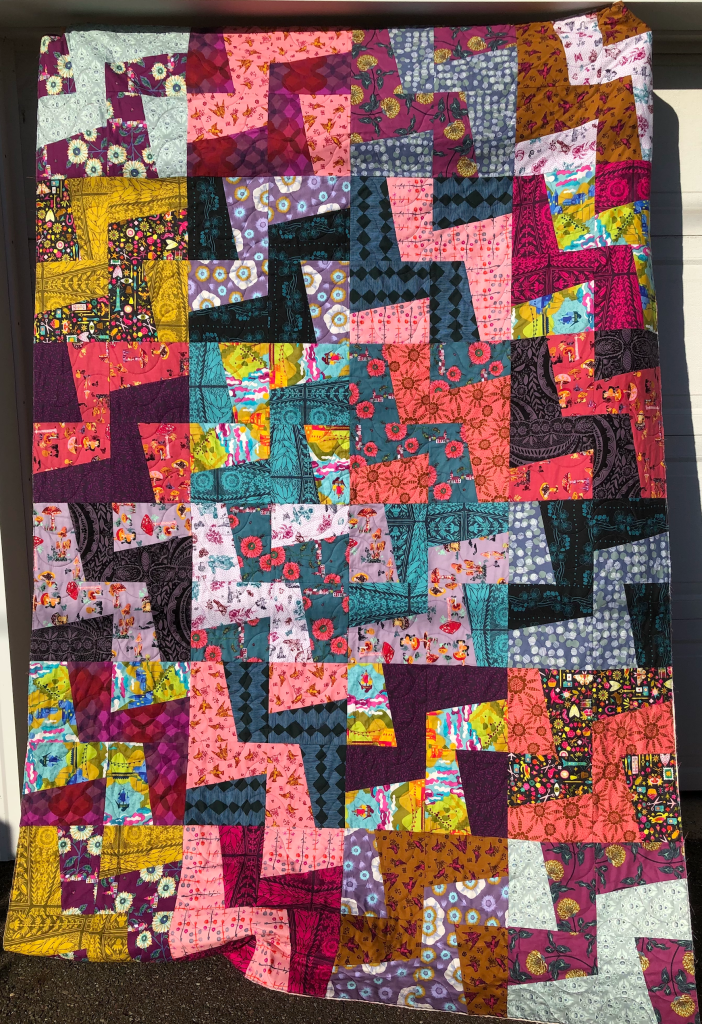
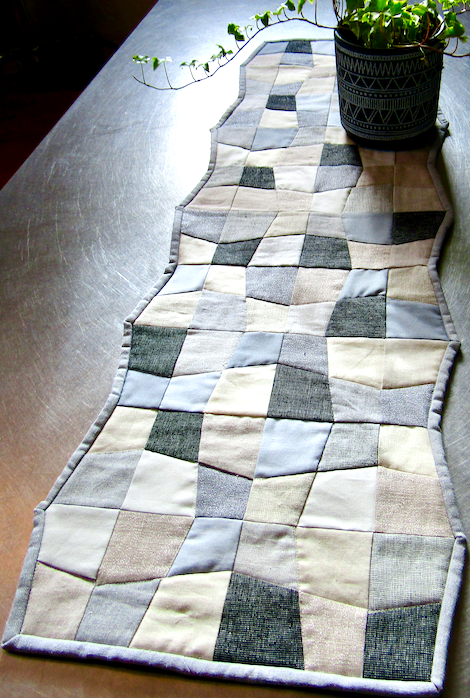
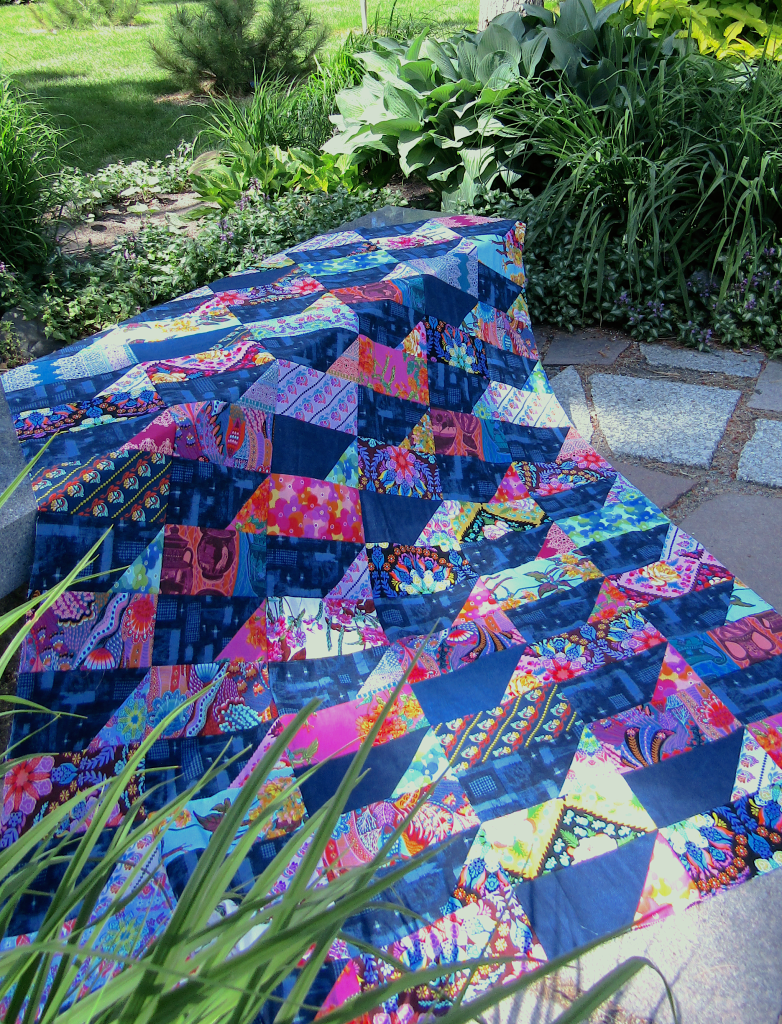
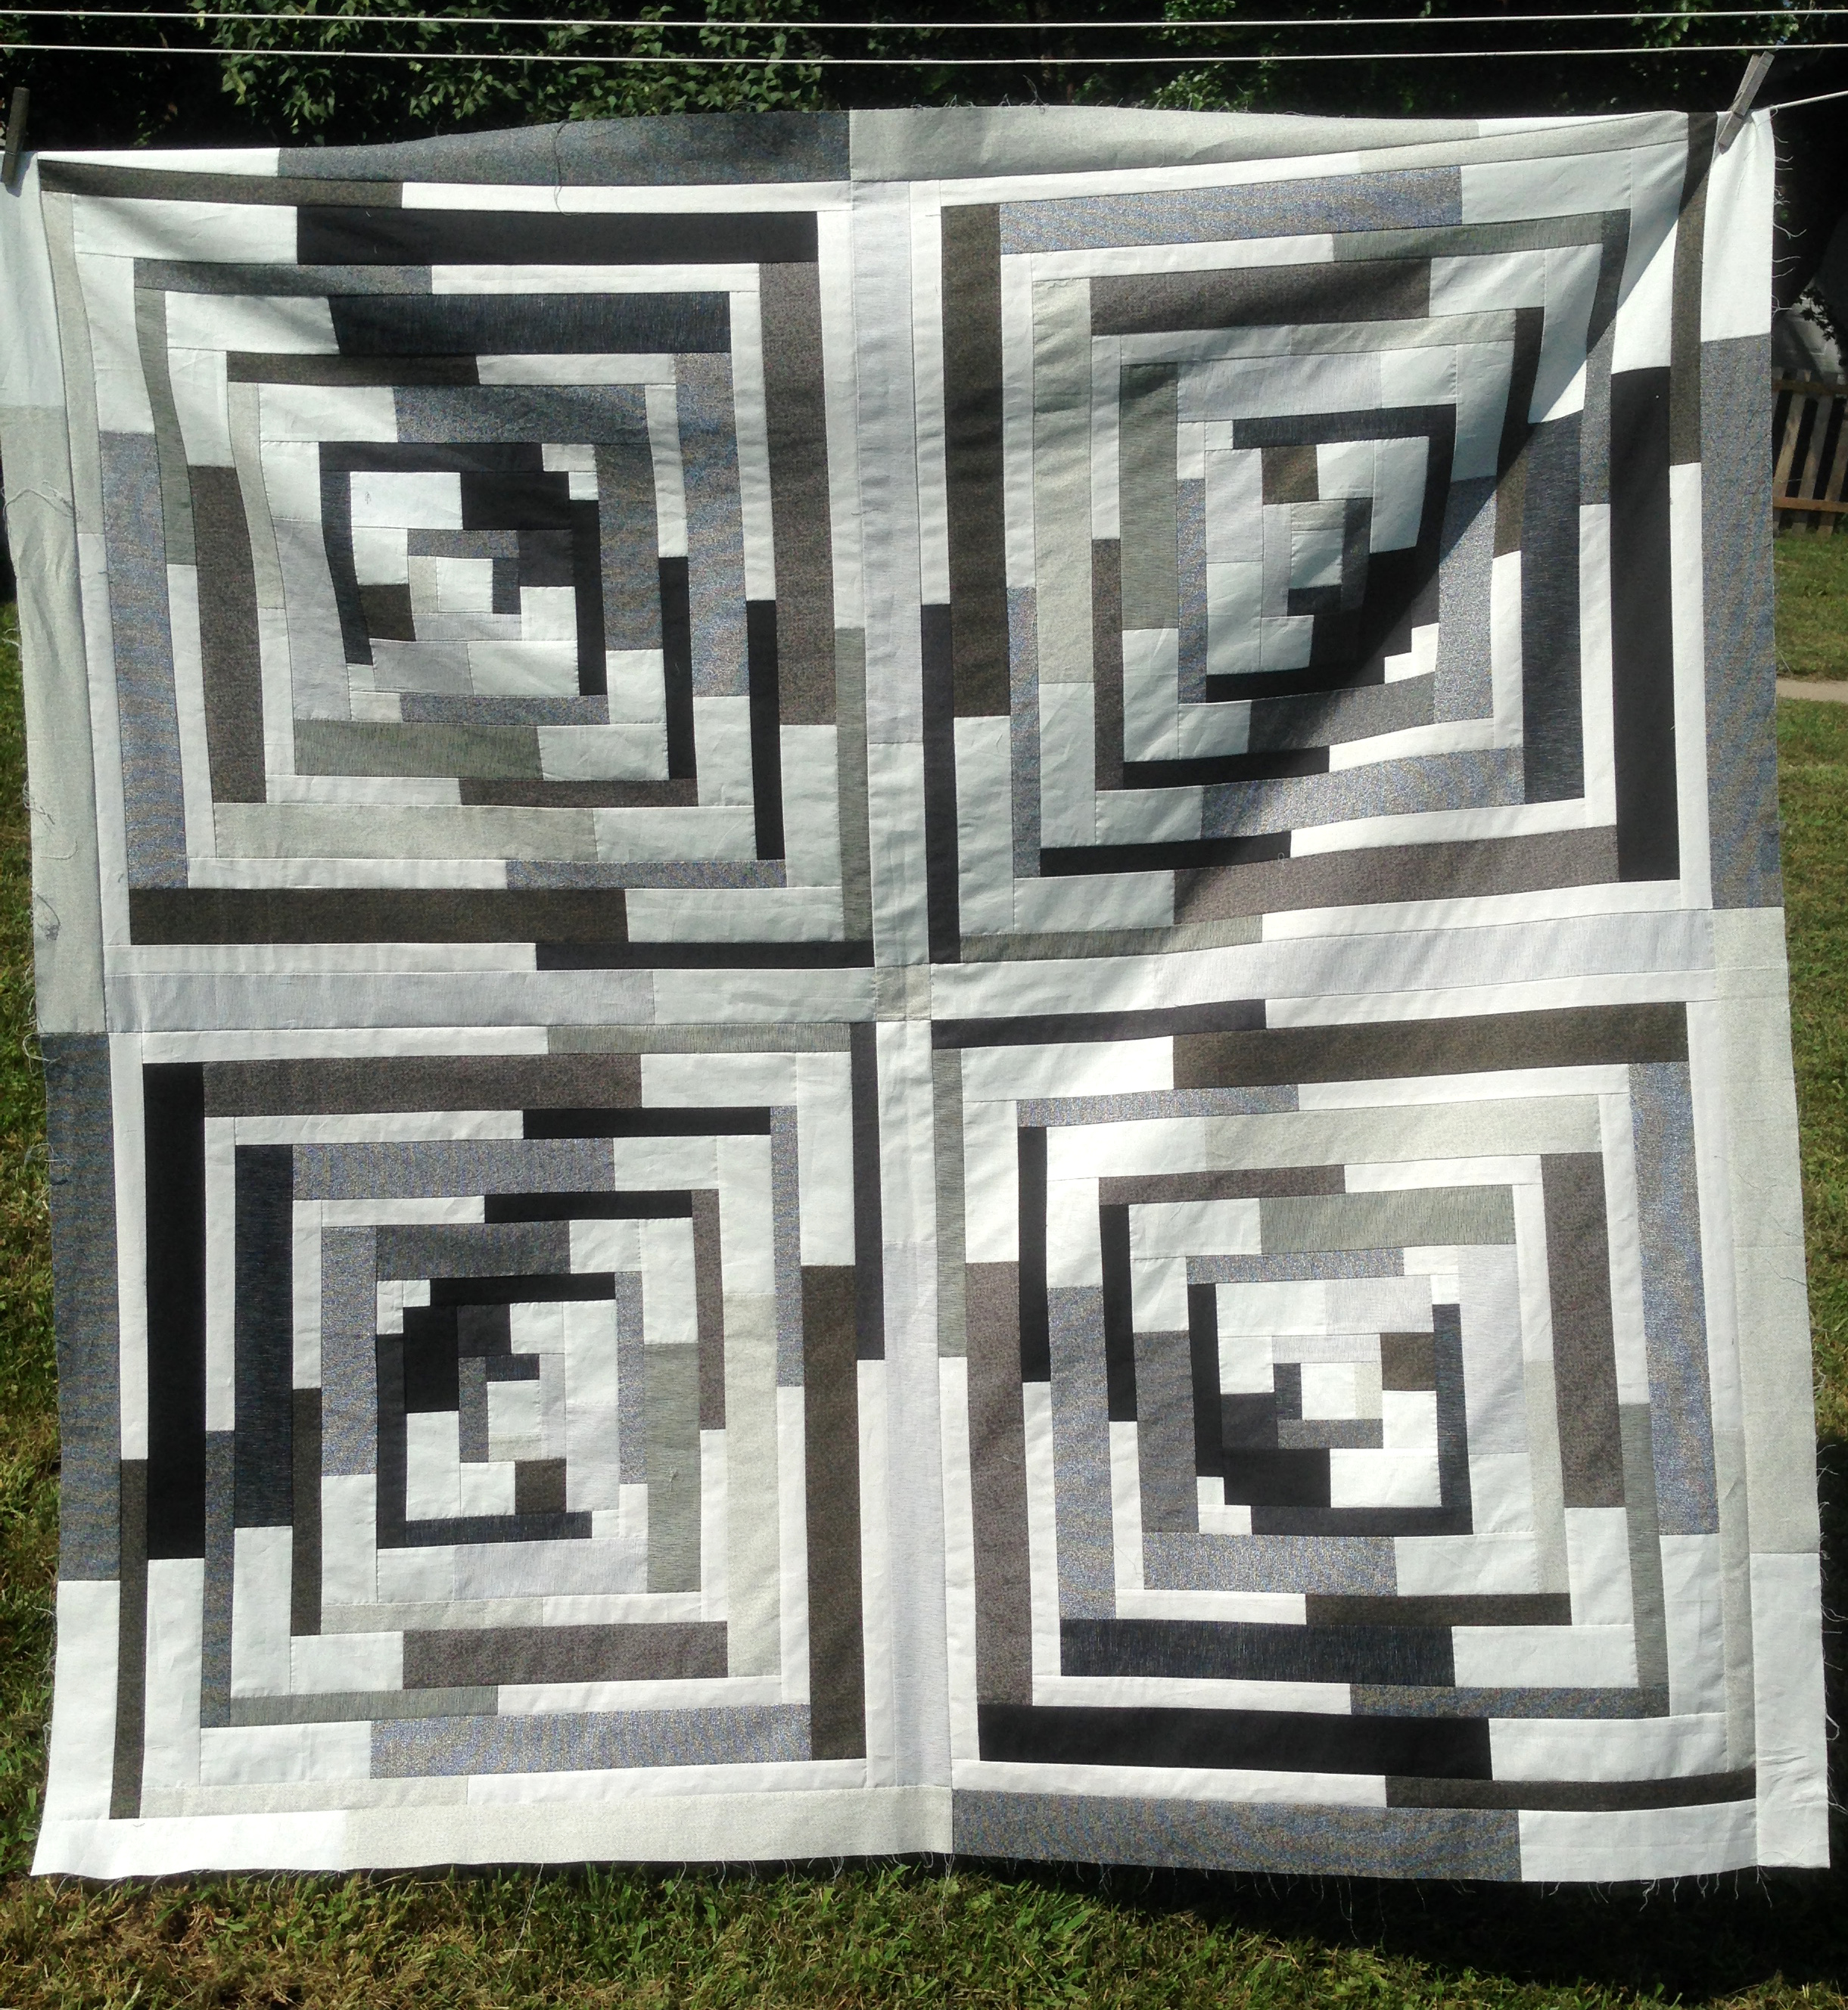
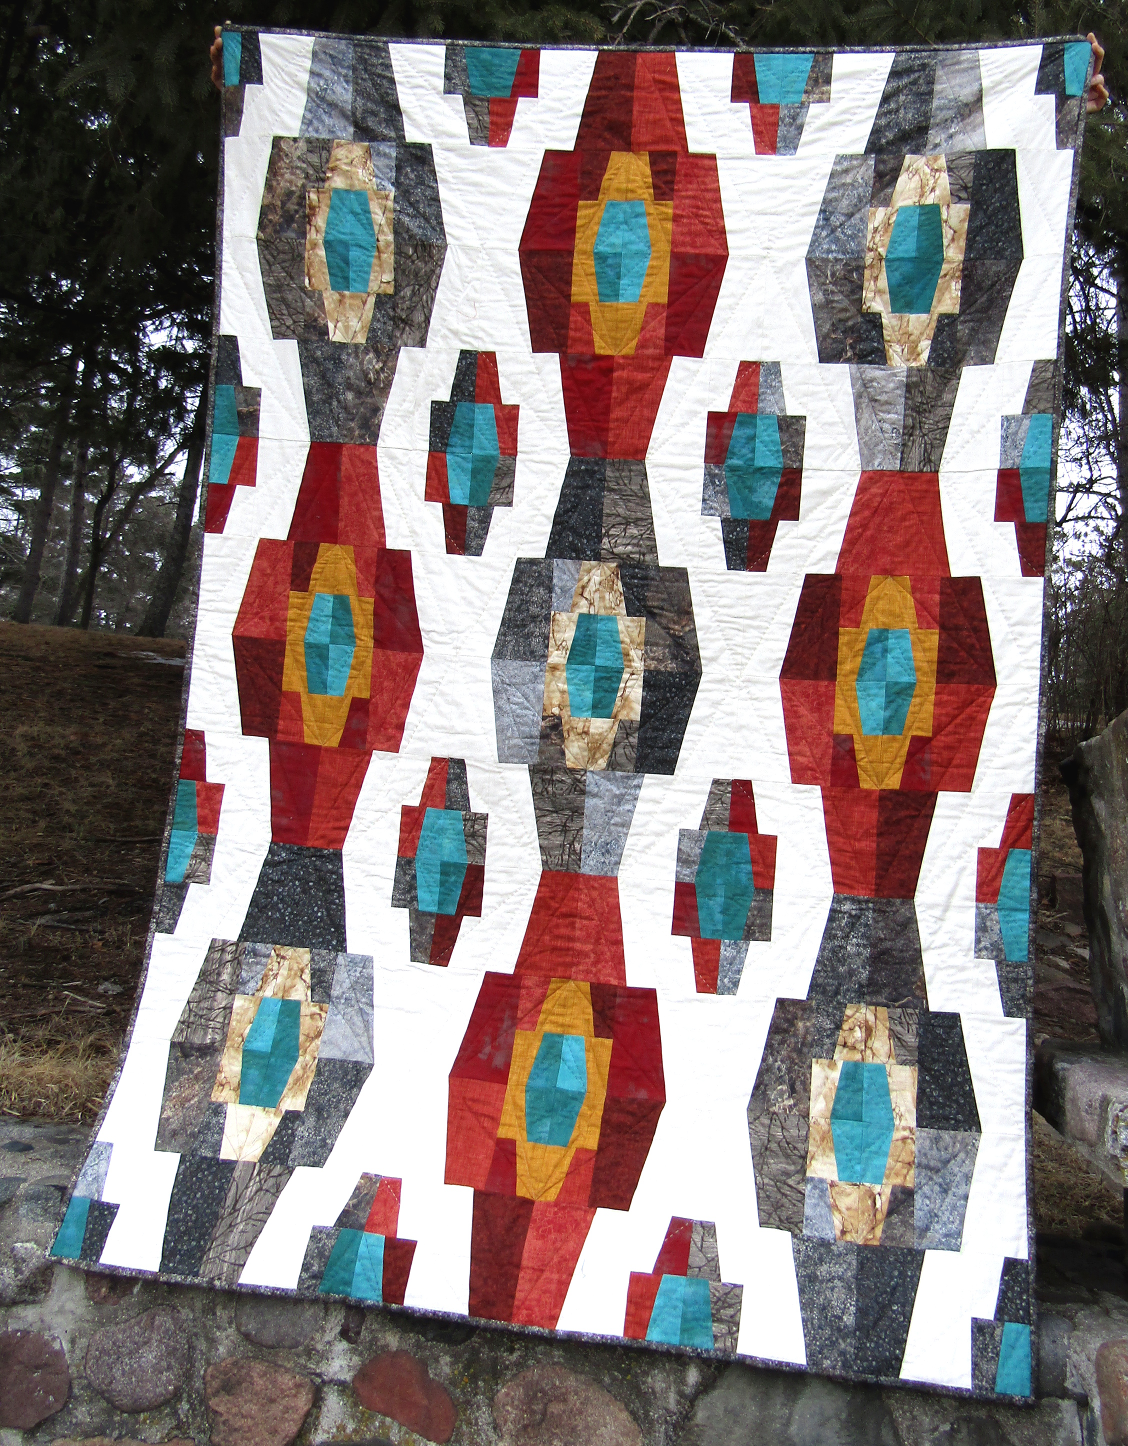 This is my quilt pattern “Medora”. It’s currently written for 2 sizes. I like to play with what I think is a greatly underutilized quilter’s tool for all the things it can do: the Straight Out of Line ruler from Creative Grids (CGRKA3). It can do basic wedge shapes starting with squares in sizes from 10″ down to 4″, plus it does a “paddle wheel” shape which is basically a twister type block without cutting away so much fabric, and it also does an “optical illusion” cut that is super fun and I have some more plans for that too. Truly the best thing about the tool is teaching it and showing other quilters the many, many blocks you can do with it!